Check your screw spacing
Many seam cracks and pops start with fasteners spaced too far apart or too short. Estimate the spacing before you tape.
Open toolTaping and finishing turns hung drywall into a wall you can paint. It happens in a set order: bed tape in the seams and inside corners, coat the corner bead, cover the fasteners, then add fill and finish coats until everything is flat. On smooth walls under glossy paint or strong side light, the last step can be a skim coat over the whole surface.
Most finishing problems trace back to a few choices. The tape needs a full, even bed of mud behind it, or it bubbles. Paper tape goes in the corners. Mesh tape needs hot mud, not bucket mud, or the seam tends to crack down the middle. Each coat has a compound that suits it: harder-bonding mud to embed tape, easier-sanding mud for the top coats.
The guides below are grouped by task, in roughly the order you'll do the work. Start with taping seams and angles, pick your mud, coat the bead, then decide how smooth the finish needs to be. If seams have already cracked, or you need new work to blend into an existing texture, see the last group. Fixing holes, cracks, dents or screw pops is covered on the Repair hub.
The first coat. Get the tape bedded right and everything after it goes easier.
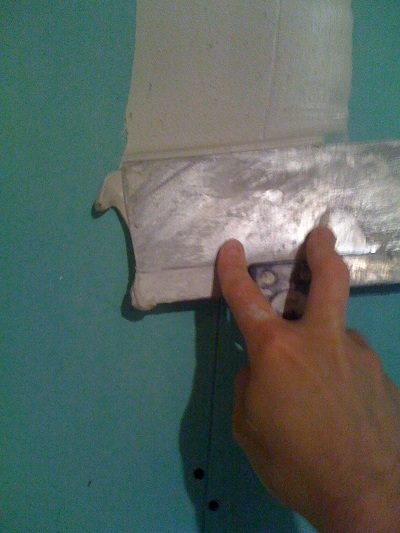
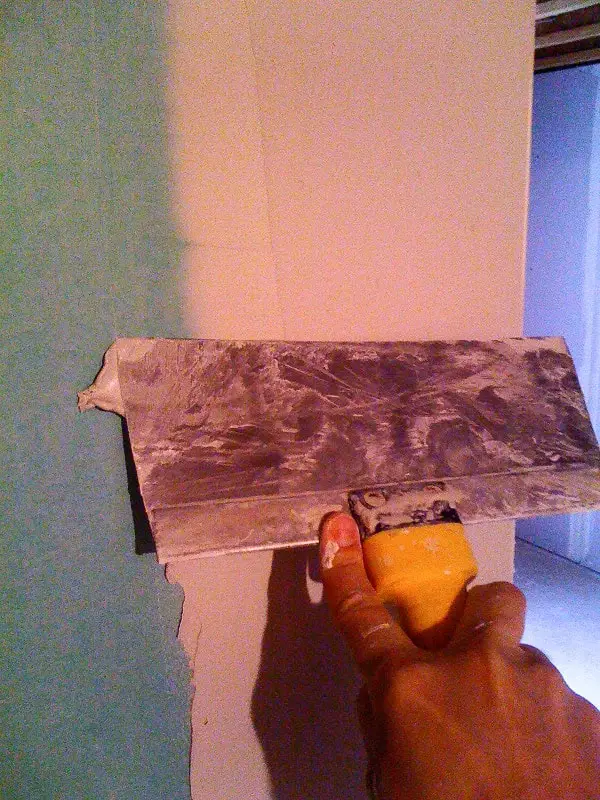
Bed paper tape on flat seams step by step, and avoid the two beginner mistakes: dry spots that bubble and squeezing out all the mud.
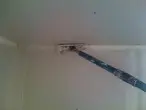
Taping inside corners by hand with a 6-inch knife, plus the corner tools that speed it up. Paper tape only here, never mesh.

Which tape goes where. Paper for corners and crack resistance; mesh for flat seams and patches, bedded in hot mud.
Using the wrong compound for the step is one of the main reasons seams crack.
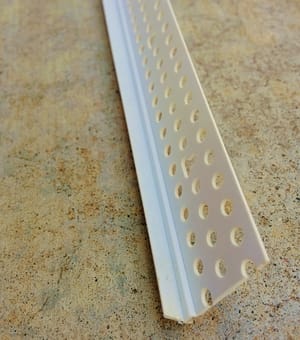
Outside corners and edges where drywall meets other materials.
For walls and ceilings that will be painted smooth, especially under glossy paint or strong side light.

The six GA-214 finish levels explained, and when a full skim coat over the whole surface is called for.
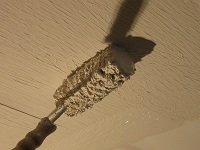
The Level 5 method: roll on thinned mud, then skim it off tight with a 12- to 14-inch knife.
When the finish cracks, or new work has to blend in with old.
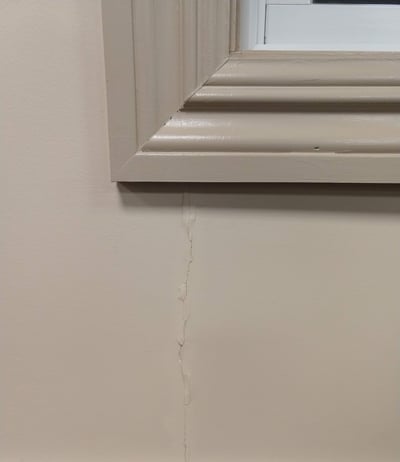
The taping mistakes that cause cracked seams, and how to tell a taping failure from framing movement.
Match the mud consistency, tools, board thickness and coating area so a patched spot doesn't stand out.
A reader's account of where the California (butterfly) patch came from. Fun read; for small to medium holes we prefer the hammock patch.
Holes, cracks, dents, screw pops and water damage are on their own hub. See the Repair hub.
Many seam cracks and pops start with fasteners spaced too far apart or too short. Estimate the spacing before you tape.
Open toolPaper tape for inside corners and anywhere you want the most crack resistance. Self-adhesive mesh works on flat seams and patches, but bed it in setting-type compound (hot mud), not pre-mixed mud. See mesh vs paper tape.
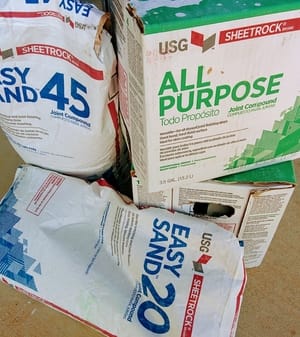
Use all-purpose or taping compound to bed paper tape. Lightweight and topping compounds sand easier but are not meant for embedding tape, so save them for later coats. Hot mud is the choice for mesh tape and for filling wide gaps.
Corner bead takes at least two coats, sometimes a third. Flat seams get a tape coat plus fill and finish coats, and fasteners get covered on each pass. A Level 5 finish adds a skim coat over the entire surface.
There wasn't enough mud behind the tape, or the mud was too dry when the tape went on. Any spot without mud underneath won't stick and will bubble when you coat over it.
When smooth walls or ceilings get non-flat or dark paint, or face critical lighting such as strong side light from windows. Flat paint on a smooth wall in ordinary light is usually a Level 4 job.