What Is a Level 5 Drywall Finish?
A Level 5 finish refers to drywall that has been taped and coated to create the smoothest finish possible. It includes everything in a Level 4 finish plus a thin skim coat over the entire surface: seams, fasteners and the bare paper between them. It is the highest of the six finish levels (0 to 5) defined in GA-214, Levels of Finish for Gypsum Panel Products. GA-214 is published by the Gypsum Association with the wall-and-ceiling, finishing and painting trade groups (AWCI, CISCA, DWFC and PCA). Its purpose is to let architects, owners and contractors indicate exactly what treatment a wall or ceiling should get before it is painted. You can download GA-214 and the other GA technical publications here. The current edition is GA-214-2021.
For the hands-on method, see How to Roll Skim Drywall for a Level 5 Finish.
On most jobs the levels 0-4 rarely come up in contractor speak. Level 5 is the exception, because it has become shorthand for "the smoothest wall possible." The rest of the scale is worth knowing. Misunderstanding about exactly what steps are required to produce Level 5 finish, the term is no more than a buzzword.
The six GA-214 finish levels
Level 0: no taping, finishing or accessories. Used for temporary construction or when the final decoration hasn't been decided. In simple terms, drywall only with no tape or mud.
Level 1: tape embedded in compound at joints and inside corners. Excess compound and tool marks are acceptable, and fasteners don't need to be covered. Used above ceilings, in attics and in other concealed areas, and for joint treatment in smoke barriers.
Level 2: tape embedded and wiped to leave a thin coat, plus one coat over fasteners and accessories. Tool marks are acceptable. Used under tile and in garages or storage areas where appearance doesn't matter.
Level 3: Level 2 plus one more coat over joints and inside corners, and two coats total over fasteners and accessories. Smooth and free of tool marks. Used under medium or heavy texture or heavy-duty wallcovering. GA-214 says it is not right for smooth walls or light textures.
Level 4: two separate coats over flat joints (after the tape coat), one coat over inside corners, and three over fasteners and accessories. Smooth and free of tool marks. Used for smooth walls with flat paint, light or non-continuous textures, or wallcovering. GA-214 does not recommend non-flat or dark/deep-tone paint over Level 4.
Level 5: everything in Level 4, then "a skim coat of joint compound or a material manufactured especially for this purpose" over the entire surface, leaving it smooth and free of tool marks.
GA-214 recommends that the painting specification include a primer before decoration at Levels 3, 4 and 5.
How a Level 5 finish is done
In practice: tape, apply the fill and finish coats, and sand lightly, the same as Level 4. Then skim the whole surface with a thin coat of compound and wipe it down tight. Once it dries, sand it lightly, check it with a work light held at a low angle to the wall, and prime it before painting. See How to Roll Skim Drywall for a Level 5 Finish for the step-by-step method with photos.
Skim coat material: GA-214 defines a skim coat as "a thin coat of joint compound applied at a trowel consistency or a material manufactured specifically for this purpose," applied over the entire surface. USG's handbook says to mix the compound to about the consistency used for hand taping, apply it with a trowel, broad knife or long-nap roller, and wipe it "as tightly as possible." It also warns: do not use setting-type compound for thin skim coats, because if it dries before it sets the bond can fail.
How thick? GA-214 says: "There is no specific mil thickness that constitutes a proper skim coat." The goal is total coverage: compound forced into the paper's pores and surface imperfections, then the excess sheared off. Most of what you put on comes back off.
Spray-applied alternatives: manufacturers make products that replace the skim coat, and GA-214 accepts them when they are applied per the manufacturer. One example is USG Sheetrock Brand Tuff-Hide Primer-Surfacer. USG's data sheet J1613 calls it a vinyl acrylic latex coating that "skim coats and primes in one spray application" for a GA-214/ASTM C840 Level 5 finish. It is spray-applied only, at 15–20 mils wet film thickness (9–12 mils dry), which covers about 100–125 sq ft per gallon. It must go over a completed Level 4 finish: USG says it is not intended to bring a Level 3 surface up to Level 5. Product, air and surface temperatures must stay at 55°F or above. On ceilings it can be left unpainted for a flat white finish. Other manufacturers make similar products; follow their own data sheets.
Why a skim coat is necessary
The tape, fill and finish coats are meant to level out all high and low spots on the seams and fasteners. These coats don't affect the surface texture of the drywall itself. Joint compound and face paper have different texture and porosity, so even well-finished Level 4 walls can show the seams through the paint. This effect, called joint photographing, is caused by the way light reflects off different textures (see Challenges of painting drywall repairs). Glossy and dark paints make it worse.
A skim coat presses compound into the pores of the paper and fills small flaws in the field. The whole surface then has one texture across seams, fasteners (see Options for securing drywall) and paper. GA-214 calls Level 5 "the most effective method to provide a uniform surface and minimize the possibility of joint photographing and/or fasteners showing through the final decoration." A skim coat will not approximate a plastered surface. Good quality primer and checking the wall under real lighting conditions are important.
Primer: GA-214 recommends that the painting specification include a primer suited to the substrate and the final finish, applied as the coating manufacturer recommends. USG's handbook calls for a drywall primer before final decoration. A primer-surfacer like Tuff-Hide counts as both the skim coat and the primer.
When is a Level 5 finish needed?
GA-214 lists three cases for Level 5 on smooth walls and ceilings: non-flat paints (any sheen or gloss) or other glossy finishes; dark or deep-tone paints; and critical lighting. Older editions, as quoted in USG's handbook, said Level 5 is required where gloss, semigloss or enamel paint is specified, where flat joints are specified over an untextured surface, or where critical lighting conditions occur. Flat paint on a smooth wall with ordinary lighting is a Level 4 job under the current edition.
Critical (or severe) lighting is strong side light from windows or surface-mounted fixtures. It skims across the surface and exaggerates small differences. A common example is daylight raking along a wall that runs perpendicular to a window, or a long hallway or ceiling lit by wall-washers. GA-214 says the options are a skim coat over the whole surface, a medium or heavy texture, or drapes and blinds that soften the shadows.
Ceilings: smooth ceilings under raking light from windows or fixtures fall under critical lighting and are usually done to Level 5.
Inspection: under GA-214, blemishes should not be visible from a normal viewing position at least 5 feet from the surface, under the lighting the finished room will have. On commercial work, a jobsite mock-up may be specified for Levels 3–5 to set the standard before the rest of the work proceeds.
FAQ
What is the difference between a Level 4 and a Level 5 drywall finish?
The joint work is identical. Level 5 adds a skim coat of compound, or a spray-applied primer-surfacer, over the entire surface. Level 4 is meant for flat paint, light textures and wallcovering; GA-214 points to Level 5 for sheen or gloss paint, dark colors and critical lighting.
How thick is a Level 5 skim coat?
GA-214 doesn't set a thickness. It says no specific mil thickness makes a proper skim coat. Apply enough to cover the whole surface, then shear off the excess. Spray primer-surfacers do have a spec: USG Tuff-Hide is applied at 15–20 mils wet.
Can I use hot mud (setting-type compound) for a skim coat?
No, hot mud should not be used for Level 5 skim coats: if setting-type compound dries before it sets, it can lose its bond. Use a ready-mixed compound thinned to trowel or taping consistency.
Do I still need primer over a Level 5 skim coat?
Yes. GA-214 recommends a primer before decoration, and USG calls for a drywall primer. The exception is a primer-surfacer such as Tuff-Hide, which replaces both the skim coat and the primer.
Sources (read Oct 19, 2026): GA-214-2021, Levels of Finish for Gypsum Panel Products (Gypsum Association; copy hosted by American Gypsum: https://www.americangypsum.com/sites/default/files/2022-05/ga-214-2021_17.pdf). USG Sheetrock Brand Tuff-Hide Primer-Surfacer submittal sheet J1613, rev. 9-25 (https://www.usg.com/content/dam/USG_Marketing_Communications/united_states/product_promotional_materials/finished_assets/sheetrock-primer-surfacer-tuffhide-submittal-J1613.pdf) and USG's Tuff-Hide product page FAQ. CGC/USG Gypsum Construction Handbook, Ch. 5 Finishing Drywall Systems (Canadian edition: https://www.usg.com/content/dam/USG_Marketing_Communications/canada/product_promotional_materials/finished_assets/cgc-construction-handbook-ch05-finishing-drywall-systems-can-en.pdf).
Keep reading
California Drywall Patch
The California Drywall Patch is one of the most common ways to repair drywall. Cut the patch 3 inches larger than the hole being repaired. Score the drywall paper and break away the flaps.

The Story of the California Patch
The California Drywall Patch is one of the most common ways to repair drywall. Larry sent in a humorous but possibly believable explanation for the origin of the California Patch. Please enjoy.
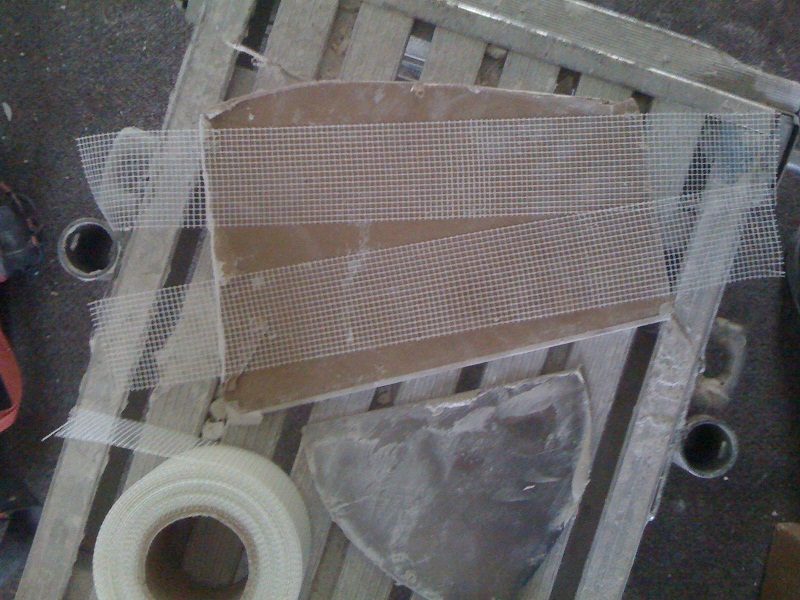
Repairing Drywall Holes with a Hammock / Ohio Patch
Hammock patches are the strongest and easiest method for repairing small to medium holes in drywall. The same drywall that was cut from the wall can be used to replace the area being repaired.
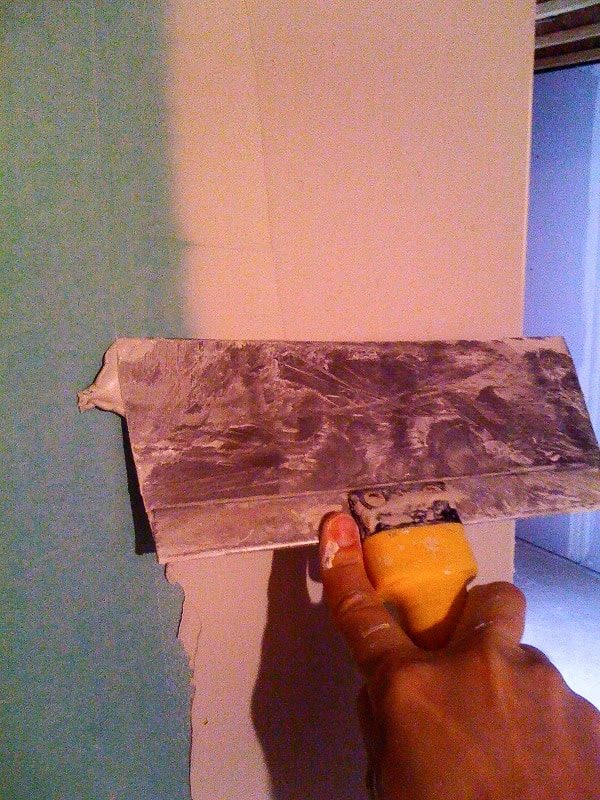
How to Coat Drywall Corner Bead
Corner bead is applied to the outside corners of drywall. The bead protects drywall corners and helps make a perfectly square corner. Usually at least 2 coats of mud are needed. The following 6 steps outline the basic process of coating drywall corner bead.