
How to Coat Drywall Corner Bead
After drywall corner bead is installed it is coated with drywall mud to smooth out the transition between the drywall and the bead. Generally a minimum of two coats of drywall compound is needed, however a third skim coat is sometimes added to cover any imperfections. The first coat of drywall mud should be applied to corner bead after the drywall taping has been done. The second coat can be done either after the seams have been taped and coated or after the seams have been final coated. The steps below outline the basic process for mudding outside drywall corner bead.
Step 1 - Mix the drywall mud
All purpose drywall compound or Lightweight all purpose drywall compound can be used to coat corner bead. Mud used to coat corner bead is some of the thicker mud you will use. Only a small amount of water is added to thin it slightly. However, if it is too thick, it will be hard to apply so go ahead and thin it slightly but it should be thicker than most coating mud. Thicker mud makes it easier to fil the gap created between the bead and the drywall. Slightly thinner mud can be used for second coating corner bead. Thinner mud makes it easier to smooth out the imperfections that were left behind from the first coat.
Step 2 - Apply mud from top toward the center
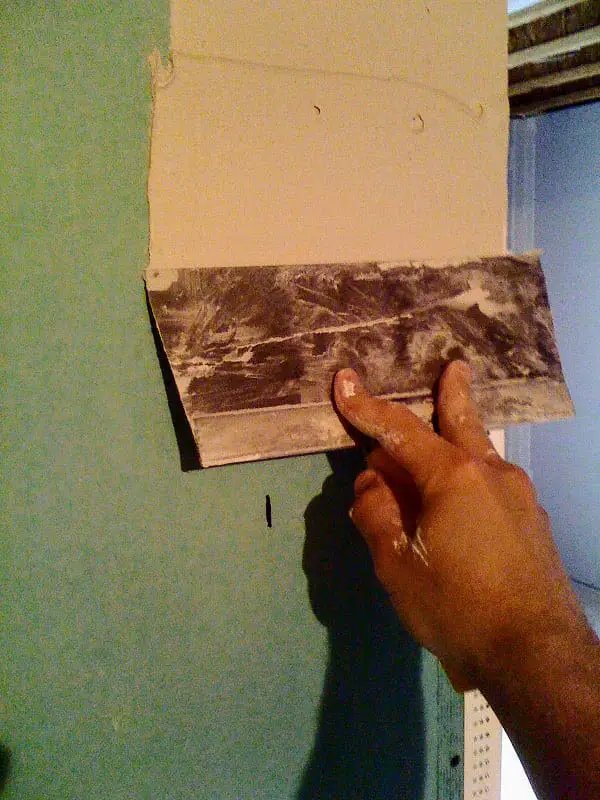 Using an eight or ten inch drywall knife, spread drywall compound evenly on the drywall near the corner bead. The knife should run against the bead as a guide. Don’t allow the knife to pull away from the bead. The mud should be evenly dispersed across and under the knife. Notice how the two fingers are pressed against the mid section of the drywall knife. This helps to ensure even pressure and control when applying mud.
Start applying mud from the top down. You probably don't want to start at the very top of the bead but somewhere above center. The idea is that as you add more mud, you will want to add it above, pulling it into the previously applied mud. Don't be too concerned with smoothing it out at this point, just try to get enough mud on the bead to bridge the gap between bead and drywall.
Step 3 - Apply mud from bottom up
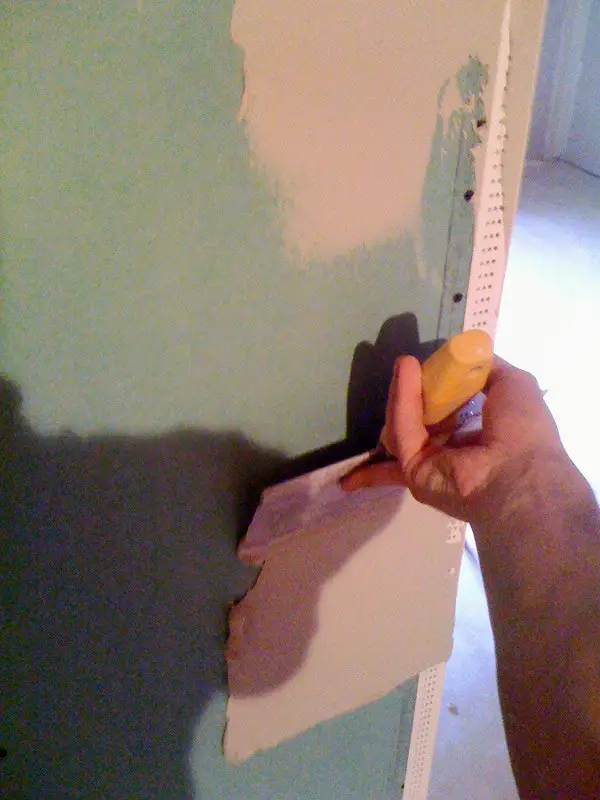 Spread drywall mud from the bottom of the bead pulling up and into the mud applied in the previous step. Subsequent applications of drywall mud should be pulled into mud already on the wall rather than pulling away from mud on the wall. Therefore, mud should be applied to the bead from the center toward the two ends. This helps to keep the thickness of the mud even throughout.
Step 4 - Feather the edge of the mud toward the drywall
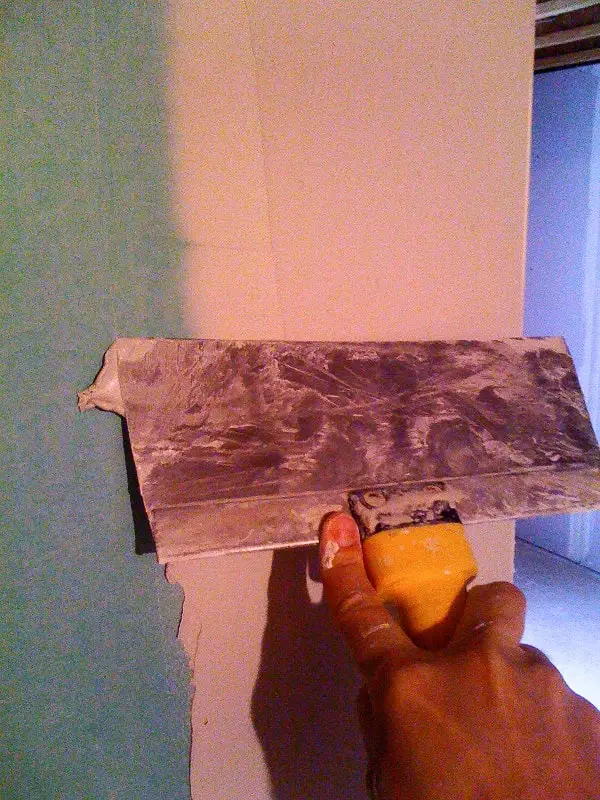 Using heavy pressure on one side of the knife, clean the outside edge of mud applied on the wall. Notice in the picture how one finger is placed to the left of the handle on the drywall knife. This aids in placing pressure where needed. You may want to click on the picture for a larger image. The right hand side of the drywall mud is guided by the corner bead and therefore does not need to be cleaned in this way, only the area where the mud tapers into the drywall.
Step 5 - Smooth mud from bead to drywall
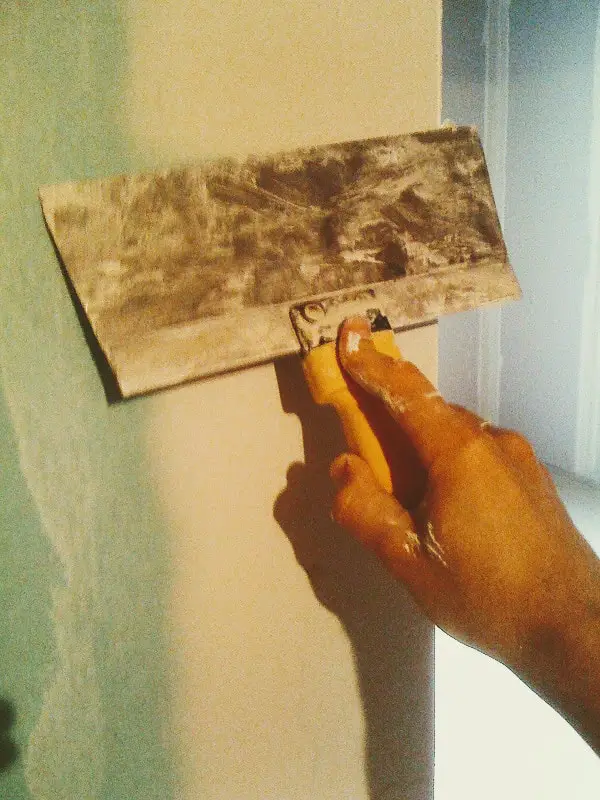 Once drywall mud is applied evenly along the length of the corner bead and the edge has been feathered smooth with the surrounding drywall, run the knife along the entire length of the corner bead using even pressure. The right side of the knife should run along the corner bead as a guide while the left side should run along the drywall. This step smooths the surface of the mud just applied. Try not to remove too much mud in this step. Use only enough pressure to smooth the mud. Too much pressure will remove too much mud and leave the corner bead hollow and concaved.
Step 6 - Allow to dry and apply second coat
Once the mud has dried, repeat the process above using a larger drywall knife. If you used an eight inch knife on the first coat, use a ten inch on the second coat. If you used a ten inch knife on the first coat, use a twelve inch knife on the second coat. At times a third very thin coat is needed to cover any residual imperfections.
Conclusion
After drywall corner bead has been installed, it can be coated after taping is finished. The first coat should be applied before you apply a second coat to the seams. The second coat of mud can be applied anytime after you first coat the seams and butts. All Purpose or Lightweight All Purpose joint compound is best. Usually two coats is enough but if the bead is hollow or has several imperfections, a third coat may be needed.