
How to repair drywall screw pops
Drywall screw pops are an easy thing to fix. This is definitely something a do-it-yourself kind of person is capable of tackling on their own. All you need is a small drywall knife, a six-inch drywall knife works best, and an electric screwdriver to install two screws for every fastener that has popped. Before we discuss how to fix this problem you need to understand the cause.
What causes drywall screw pops
 Sheets of drywall are installed over either metal or wood studs and secured with nails or metal screws. The shape of the head on drywall fasteners, whether nails or screws, is specifically engineered to hold drywall while leaving a smooth surface that can be covered with a thin layer of drywall compound and finished smooth. Drywall fasteners dimple the surface drywall paper very slightly so that the head of the fastener sets just below the surface.
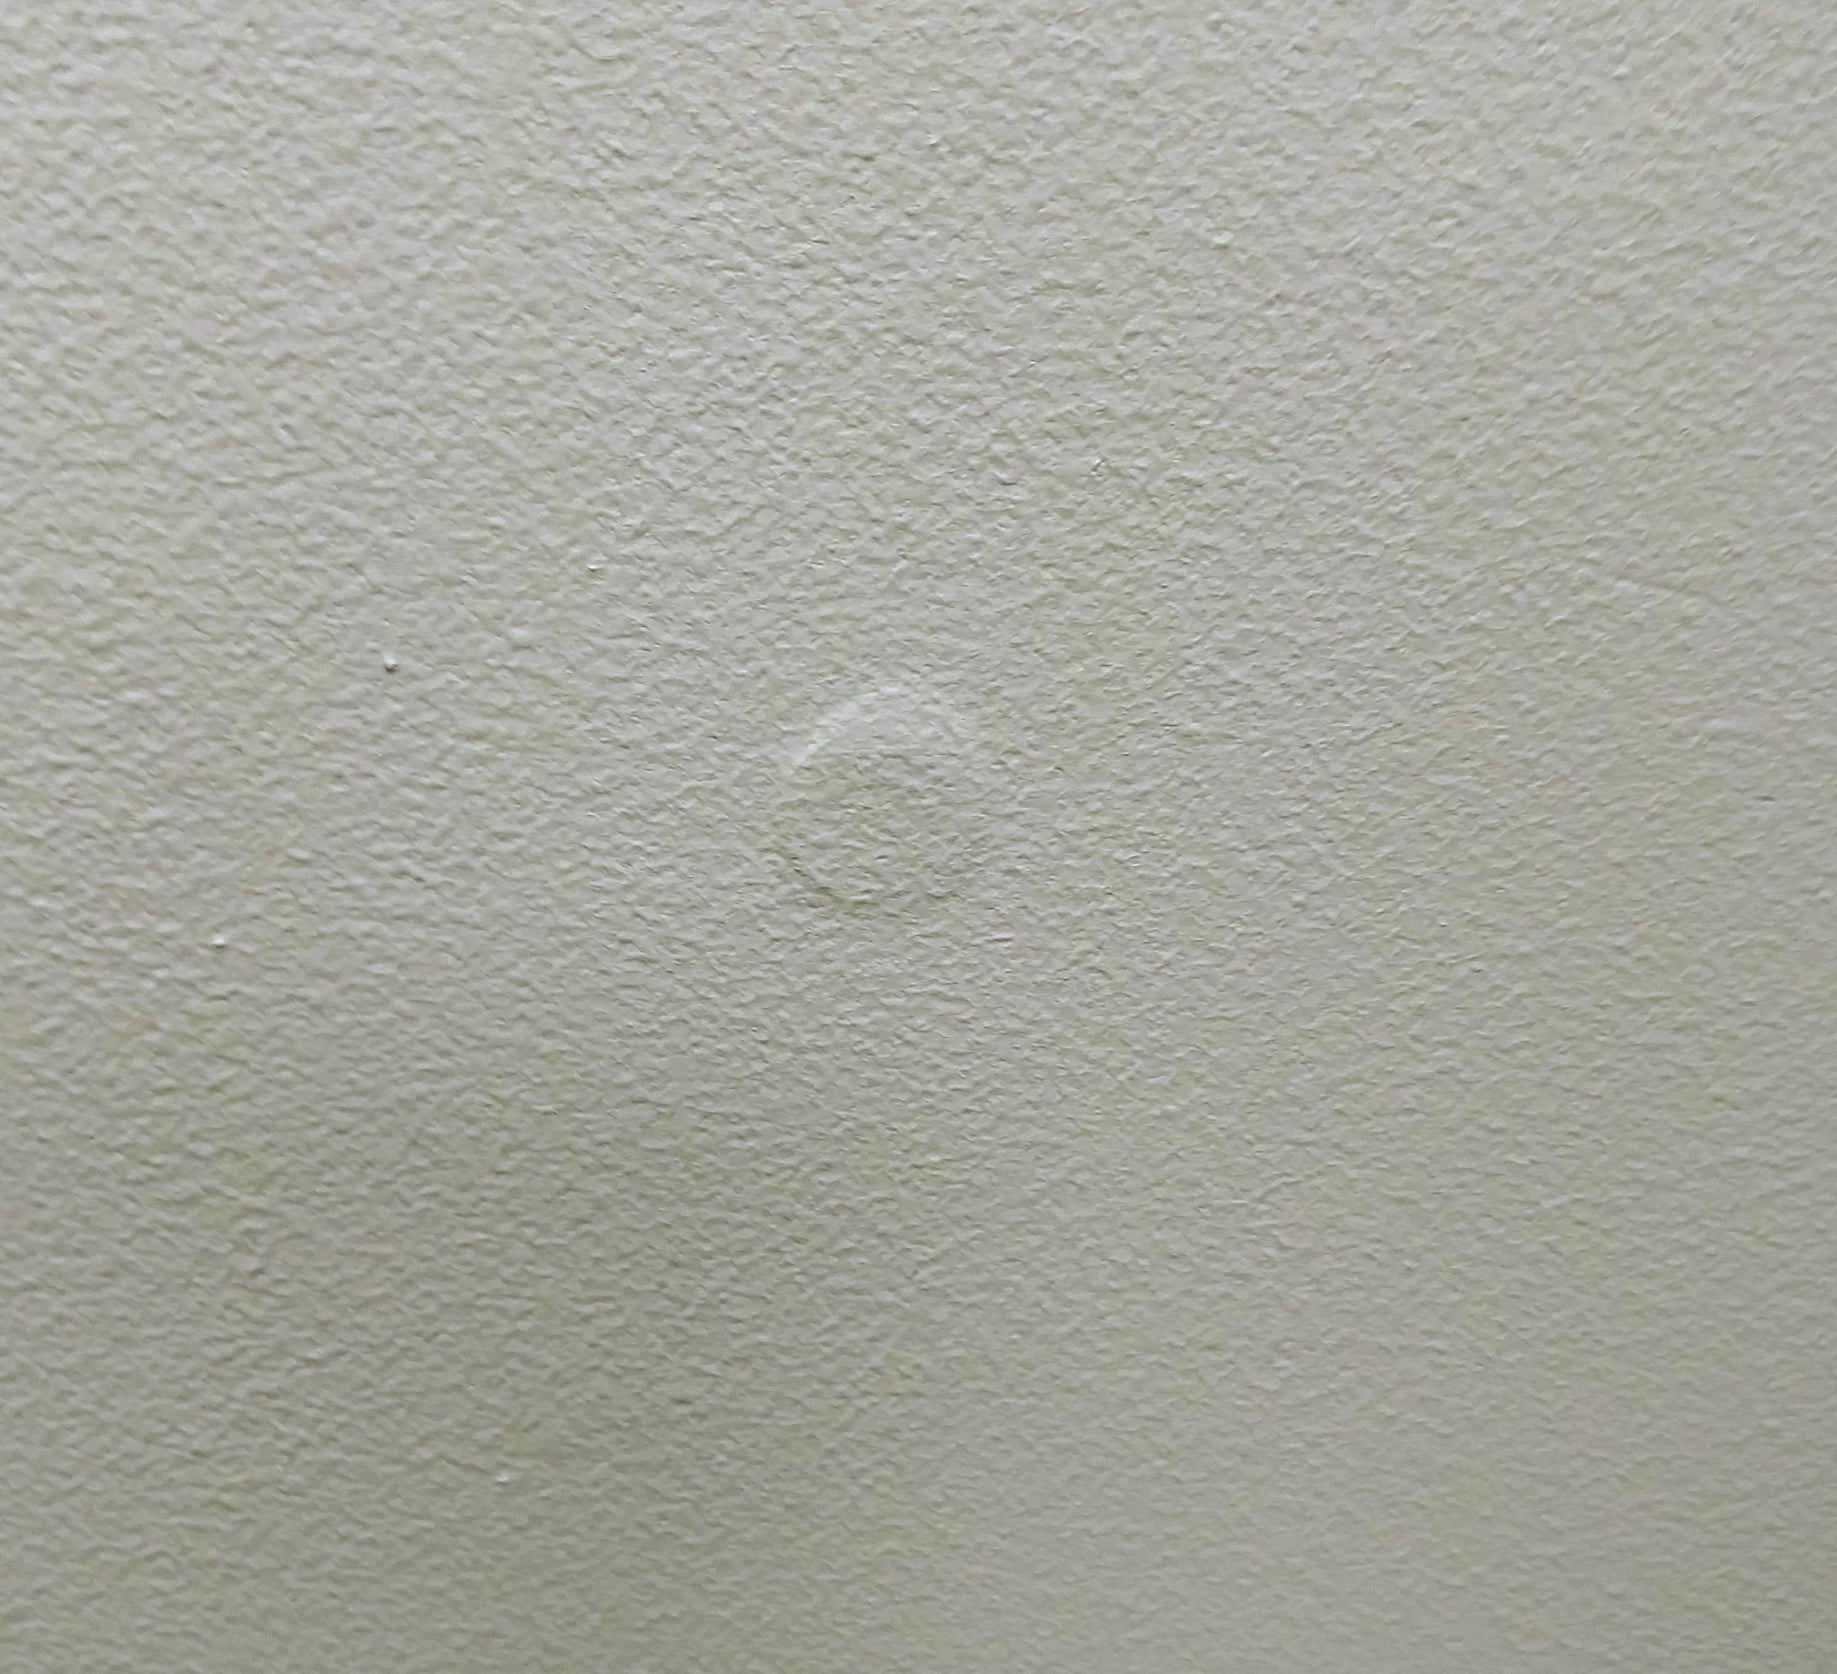
The pressure exerted by a drywall screw or nail against the surface paper is the tension that holds drywall to the wall. Because of this, if the head of a drywall fastener penetrates the surface paper, its ability to hold the sheet firmly is compromised. Proper screw depth is critical when trying to prevent drywall screw pops. Screws set too deeply are the main cause of screw pops.
 Now if you understand that a fastener that has penetrated the surface paper of a sheet of drywall has no holding power you understand the cause of nail pops. They are called pops because the drywall has popped away from the fastener that was holding it. When this happens, the sheet of drywall is free to move in and out while the nail or screw remains securely fastened to the stud below. Coating directly over a screw pop without addressing the root cause is pointless. When the drywall in this area moves slightly in or out it will pop the drywall mud from the screw.
How to fix drywall screw pops
Step 1 - Secure the loose drywall
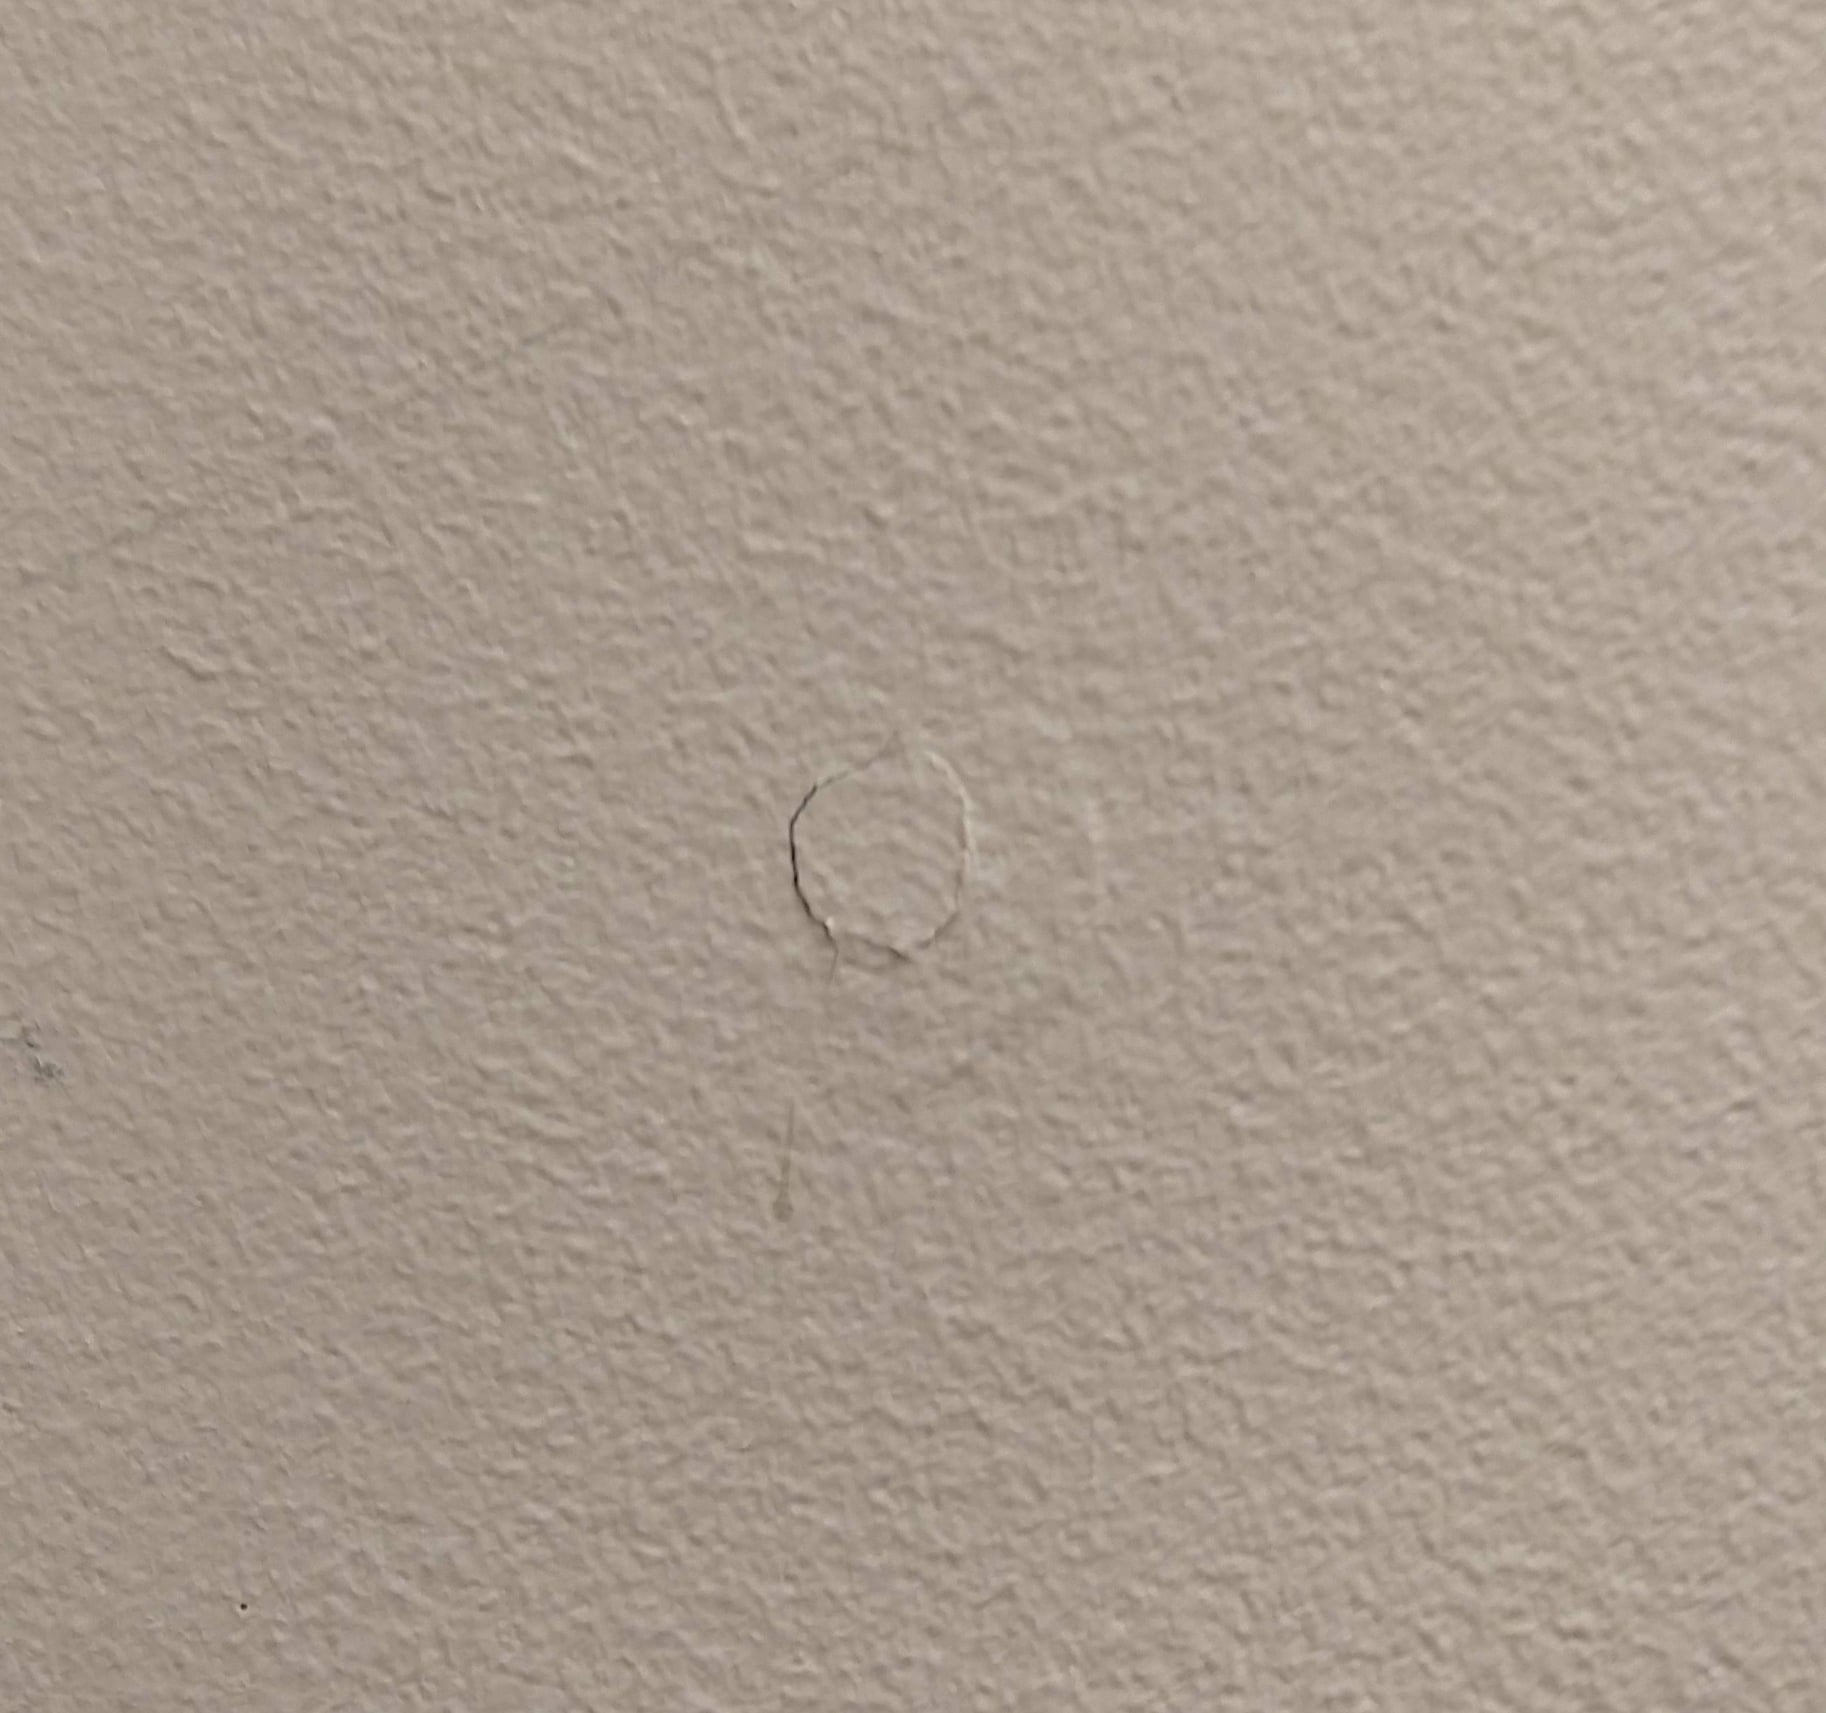
 To properly fix drywall screw pops you must first re-secure the sheet of drywall to the stud behind. To do this, you can take a cordless screwdriver or drywall screw gun and install two screws, one above and one below the fastener that is causing the problem. This ensures that the surface will not move and pop the drywall mud in the future. You can use drywall nails if you absolutely must, however, because the original culprit of the problem is the drywall fastener it's wise to use the most secure means possible to fix the problem, which just happens to be drywall screws.
Step 2 - Fill the screw heads with drywall mud
Once you are sure that the surface is secure, you can fill these screw heads with drywall mud. Use a six-inch drywall knife and apply a thin layer of drywall compound removing any excess. Make sure to pull the drywall knife tightly across the surface so that most of the mud is skimmed off the area surrounding the fastener head.
What type of mud to use
You can use pretty much any type of compound you prefer. Many professionals prefer five-minute quick set drywall mud (hot mud) when doing small patches like this because you can second and third coat within minutes. For more information on types of drywall mud you can check out our article discussing what type of drywall mud is best for which application.
Step 3 - Re-texture if necessary
If you are repairing a textured wall, you will need to re-texture the area before painting. It is good to keep this in mind when filling the screw heads in the previous step. Limiting the area affected when coating the screws will make texturing much easier. You can get some tips on matching existing drywall texture in the accompanying article.
Step 4 - Sand smooth
Finally a light sanding ensures that no tool marks remain. If you textured the patch, be careful not to sand too vigorously and remove the texture. However, light sanding helps ensure an even match to the surrounding area. 150-grit sandpaper can be used in most situations.
Step 5 - Paint
When painting any type of drywall patch including screw pops, you will usually have to paint the entire wall to make everything blend. Even if you have the original paint, painting from wall to wall and ceiling to floor helps to even out any inconsistencies in sheen. In contrast, if you only paint the spot that was repaired, it will usually show up because of the way light is reflected. It may look shinier or duller than the surrounding area.
In Summary
In short, to fix drywall screw pops you must first re-attach the drywall in the area that is moving. The movement is what was causing the screws to pop. When sinking screws, make sure that the fastener head does not break through the paper on the surface of the drywall. Once the drywall is secure you can skim the screw heads with two or three thin layers of drywall compound. Sand and paint and this problem is not likely to return.