
Tear away vinyl corner bead
Tear away corner bead is used to create crisp clean edges where drywall butts up against other material. It is best used where drywall meets a different type of finish material such as wood or metal.
Tear away vinyl corner bead is often used around wrapped windows where drywall meets the window frame or door jam. Tear away bead is very versatile. Once you use it on a couple applications, you will likely find yourself using it almost everywhere. Tear away can be used in place of metal j-bead or l-bead. Oftentimes, the installation is simpler and j-bead or l-bead.
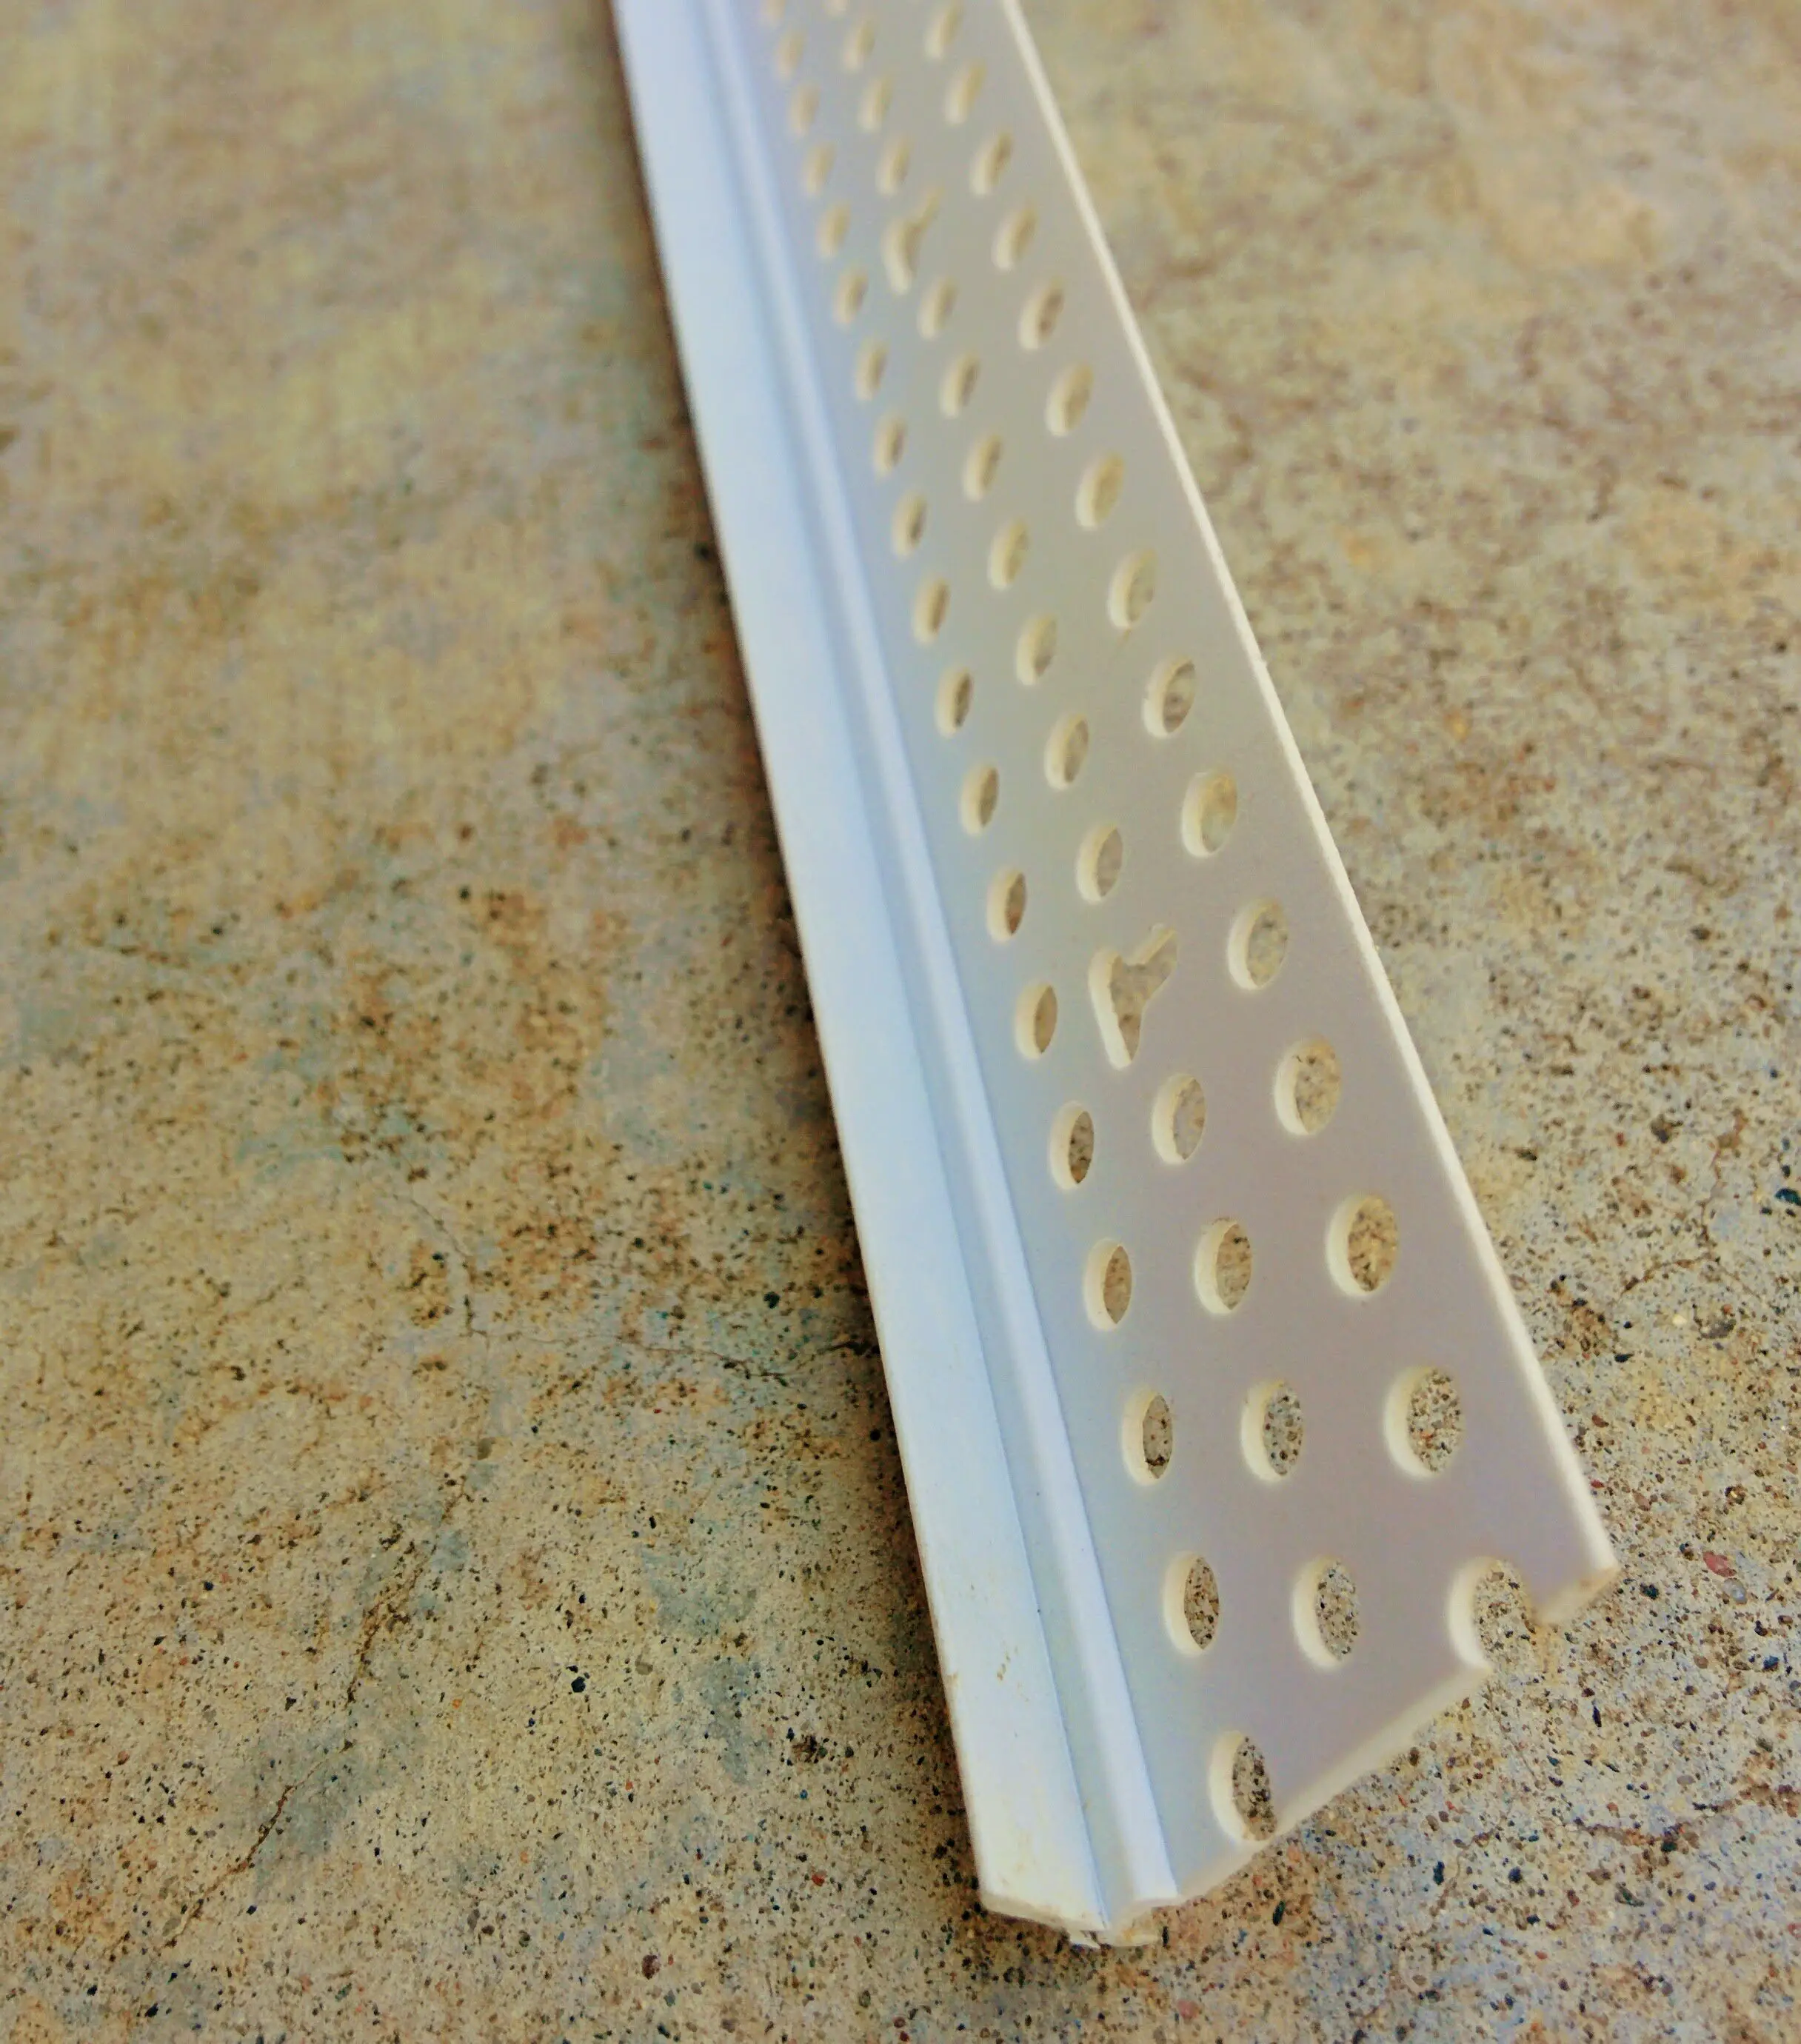
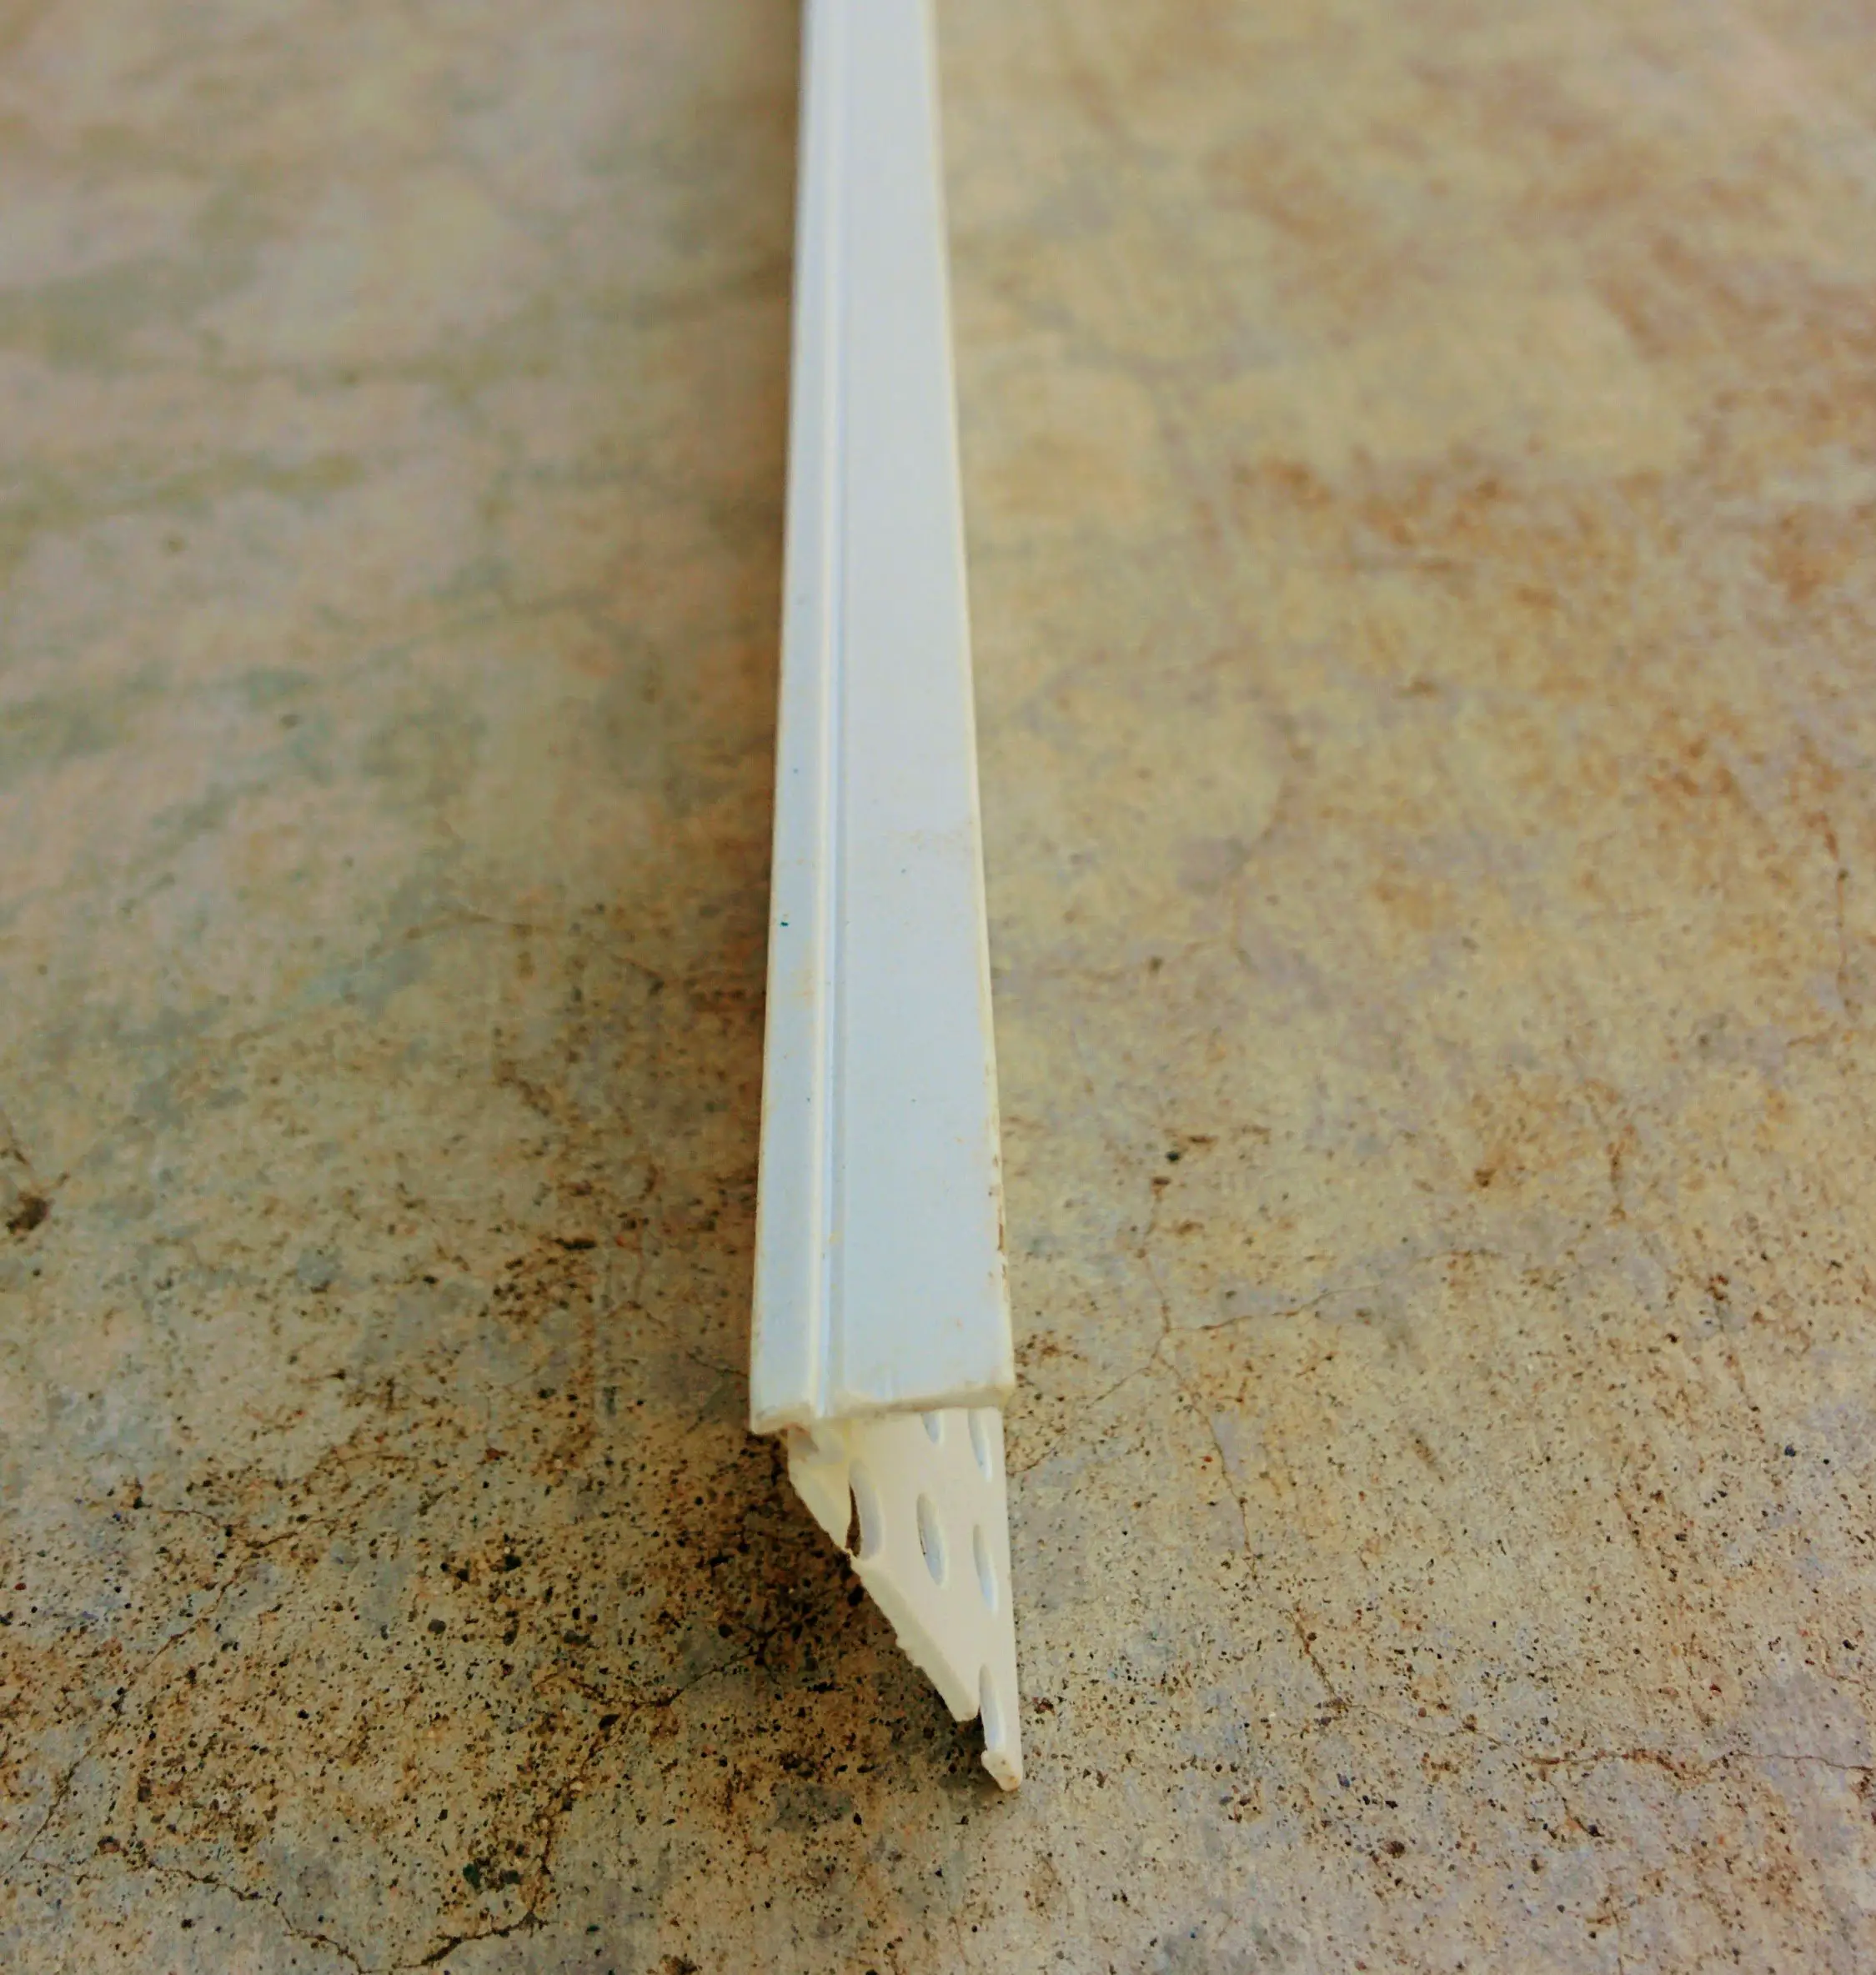
Tear away vinyl corner bead has a small strip attached perpendicular to the finish bead. This small strip of vinyl acts like a dam, preventing excess drywall mud from overflowing onto adjacent surfaces. After tear away bead has been coated and sanded, this small strip of vinyl can be removed. All that is left is a nice sharp corner where the drywall meets the adjacent finish material.
How do you install tear away vinyl corner bead?
As with all vinyl corner bead, tear away is installed using spray adhesive. Some companies make spray adhesive specifically designed and labeled for vinyl corner bead. If you can't find corner bead adhesive, general use spray adhesive can usually be used.
Step 1: Cut vinyl to length and check for fit
When hanging drywall it is good to plan ahead for installation of tear away bead. Where drywall meets up with a finish material you should hold the drywall back about 1/8 - 1/4 of an inch. This allows you to slide the finished vinyl flap on the bead into the small gap between drywall and adjacent material. Cut the vinyl tear away so the small vinyl bead will run the entire distance of the drywall edge. When working with inside window returns, the vinyl bead should meet squarely with the returning bead running at a 90° angle.
Step 2: Spray adhesive on the bead
Once you have several pieces of bead pre-cut, lay them out on a long piece of cardboard or scrap wood that will catch overspray. Using spray adhesive, coat the backside of the vinyl bead. Vinyl corner bead adhesive usually has a pink tint to help you see what has already been sprayed and what areas were missed. If it doesn't have this type of tinting, take care to ensure that every inch is covered. It is better to err on the side of too much adhesive rather than not enough. Not using enough adhesive is a big reason that drywall mud over vinyl corner bead cracks.
Step 3: Wait at least 10 minutes
Spray adhesive needs to set up before it becomes tacky. Avoid the tendency to install vinyl corner bead too soon after the glue is applied. In fact you can wait 30 minutes or so and the glue will stick just fine. Somewhere between 10-20 minutes is ideal depending on temperature and humidity levels.
Step 4: Stick the vinyl bead in place
Vinyl spray adhesive sticks very quickly once set. Before placing your vinyl tear away bead, make sure that it will go on straight, in exactly the location that you want it to. It's good to get in the practice of testing the fit to double check the cut before applying adhesive. Once set, it cannot be moved without ripping it off, usually taking drywall paper with it.
Step 5: Coat with drywall mud and leave to dry
Vinyl corner bead can be coated within 15-20 minutes of application. Using a 6 inch knife, coat the bead with a thin coat of all purpose or lightweight all purpose drywall compound. When coating, be careful to make the edge of the knife ride along the small vinyl bead that will be the finished edge. If you are not careful, your knife could ride up on the tear away flap and leave lumps of mud over top of the finished bead. Usually 2 coats of all purpose mud are sufficient. A 3rd coat can be added to skim out any imperfections
Step 6: Remove the tear away flap and sand smooth
Once your drywall mud is completely dry, the small tear away flap can be removed, exposing the nicely finished bead of vinyl. Sand lightly with a sanding sponge being careful not to damage the adjacent finished material.
Conclusion
Tear away vinyl corner bead is a versatile material that is used to make crisp edges where drywall abruptly meets a different finished material. It is very simple to apply using spray adhesive and can be finished with a six inch knife using only 2 coats of mud.