
Repairing Drywall Using The California Patch
A California drywall patch is one of the most common ways of repairing small to medium sized holes in the wall. It is sometimes called a butterfly patch, or butterfly band-aid.
Did this style of drywall repair originate in California?
It's possible. Whether or not this type of drywall repair originated in California is not clear. Though based on the name, it's likely that this method of repairing drywall was first used somewhere in California and later became popular as other drywall finishers started using it across the United States.
Tradesmen in the mid-west and eastern seaboard are well acquainted with this technique and have been using it for many years. Occasionally you will hear someone refer to it as a butterfly patch, however california patch is the more common name.
How do you do a California Patch?
Step 1
For a California patch to work, the hole you are repairing must be square or rectangle. If the hole you are repairing is trapezoid, circle, oval, or any other shape other than square, you can still use a california patch. However, you must first cut the hole to the shape of a square.
Using a keyhole saw, make cuts to even out the edges of the hole you are repairing. Try not to enlarge the hole too much. California patches do not work well on holes that are over 8 inches wide or long.
Step 2
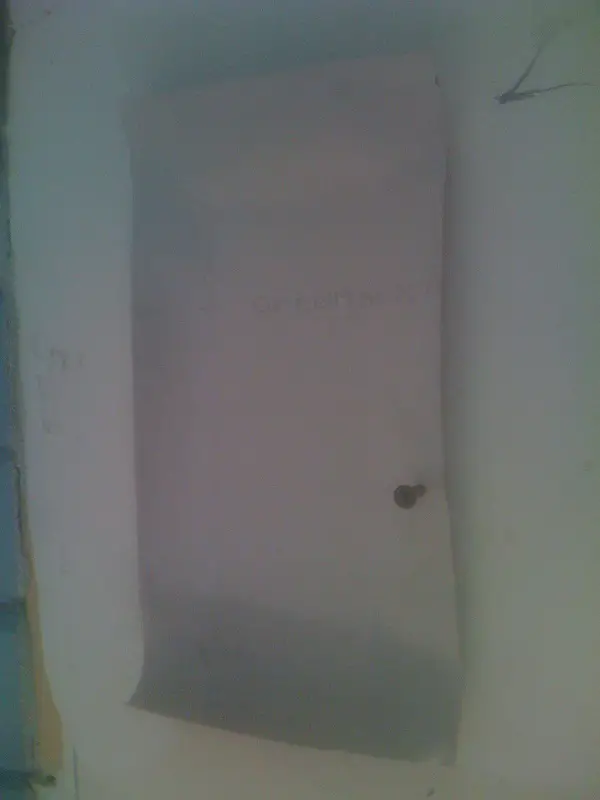
Cut a piece of drywall approximately three inches wider and taller than the hole you are repairing. For example, if the hole is 4" x 4" cut a piece of drywall 7" x 7". The piece of drywall that you cut should be the same shape as the hole you are repairing but be larger all around.
Step 3
Turn the piece of drywall over and measure in from each side 1-1/2 inches all around. Using a utility knife, score the brown paper on the back side of the piece of drywall along all four lengths 1-1/2 inches from each edge. See the diagram beside for a better understanding.
Step 4
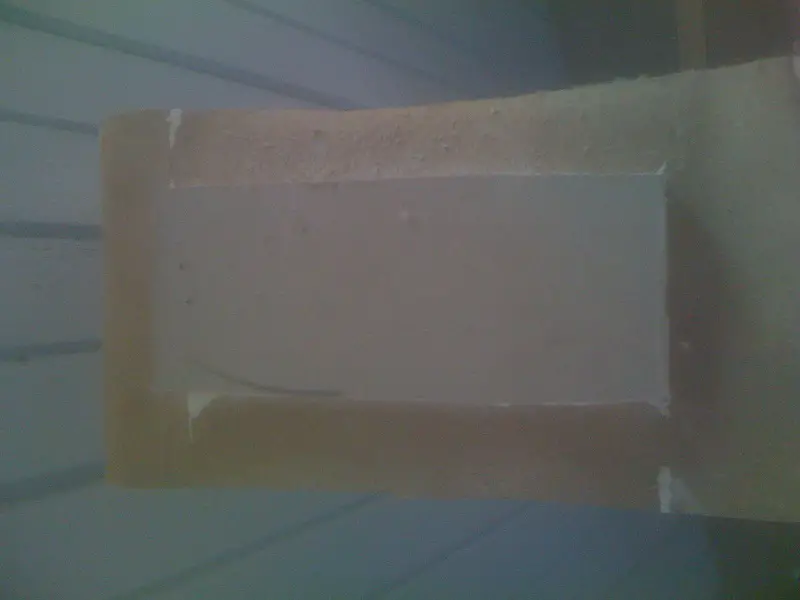
Break the drywall along all four sides where you just scored the backer paper. As you pull the 1-1/2 inch strip of drywall from each side be careful not to tear the paper on the front side of your drywall patch. As you pull the small strips from each side it should tear away from the paper that is on the front of the piece of drywall.
Pull the gypsum completely from the paper leaving only gypsum in the center of your patch with paper flaps extending on all four sides. Click to enlarge the photos for more details.
Step 5
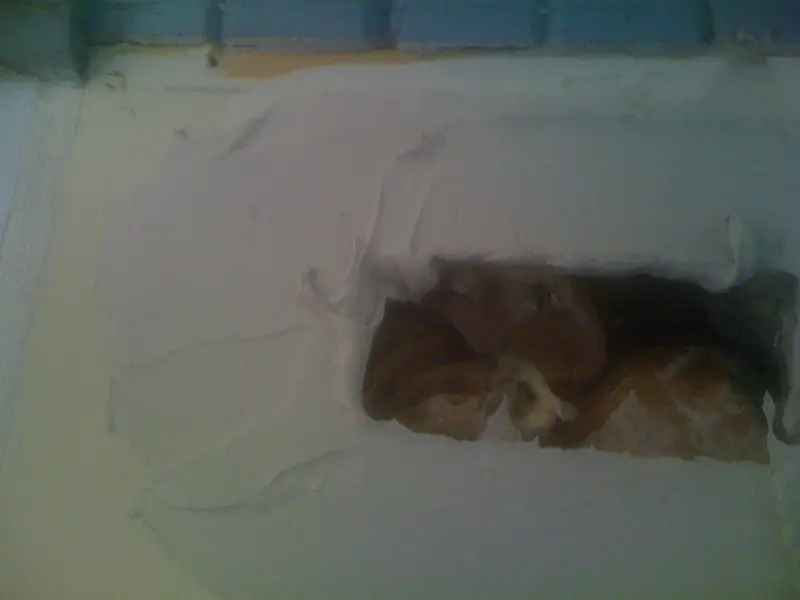
Now you are ready to prepare the hole the wall that you are trying to repair. On each side of the hole, measure out 1-1/2 inches along each length. Score the paper on the surface surrounding the hole to be repaired.
Remove the paper from around the hole. This provides an area for the paper flaps to be placed and makes the final patch flatter in relation to the surrounding drywall rather than sitting on top of the surrounding drywall. Check the patch for proper fit. Trim any excess gypsum on the patch so it fits snugly into the hole.

Step 7
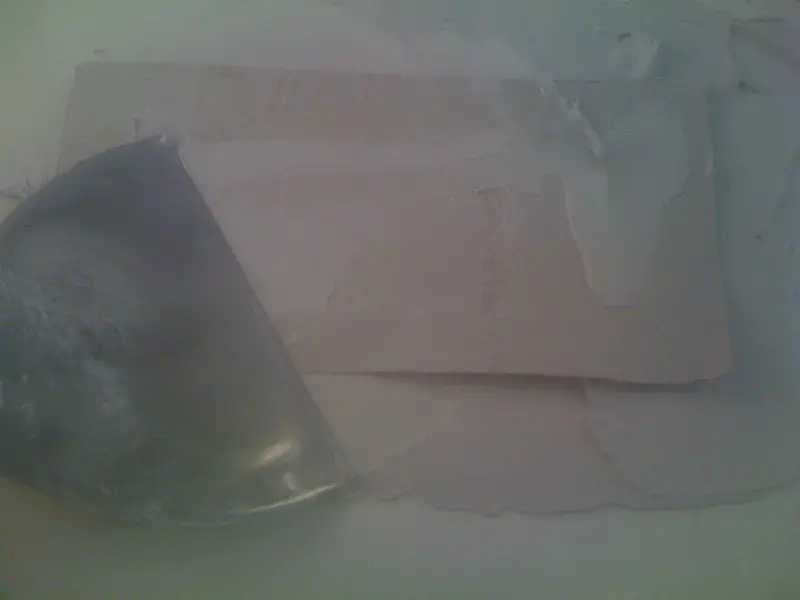
Install your prepared drywall patch into the hole and press the paper along each edge into the drywall mud that you just smeared around the edges of the wall patch.
Using a five or six inch drywall knife, flatten the paper evenly around all four edges of the patch. Take care not to leave too much drywall mud behind the paper flaps that will now hold your patch in place.
Step 8
After the drywall mud has dried, Use a ten or twelve inch drywall knife to coat around all sides of your wall patch. Feather out the edges of the mud so that they blend well with the surrounding area.
Use at least two thin coats of drywall mud to coat over the top of your patch. In some cases, it may be best to use three thin coats of drywall mud to completely hide the repair. Be careful not to add too much drywall mud with each coat as too much buildup on the surface may be seen once it is painted.
Step 9
Once everything is completely dry, use 150 grit sandpaper to sand the area lightly and remove any tool marks. If the surrounding area is textured you may need to texture the area that you just repaired. for tips on matching drywall textures see this article.
For more information about examples of drywall texture please read the accompanying article.
Don't want to use a California patch to repair drywall? Click here to view two other methods for repairing holes in wall.