
Water Damaged Drywall Cleanup
Flood damage is a very difficult thing to cope with. Besides the physical damage a flood can do to a home, dealing with the loss can cause tremendous emotional strain. Though the information here cannot make the pain of dealing with such a situation go away, having a plan firm in mind may help you maintain control of a stressful situation and little by little work toward restoring normality in your life? The following suggestions can help you plan the cleanup process.

Prevent mold growth
The first priority in flood damage cleanup is to prevent the growth of black mold. Black mold (Stachybotrys chartarum) in a home is difficult and very expensive to eliminate. As devastating as it is to deal with repairing flood damaged homes, if addressed quickly enough, you may be able to avoid mold problems. How do you ensure the walls and everything behind them is completely dry?
Dry it out within 48 hours
A key to getting control of flood damage is to dry everything thoroughly within 24 hours. It takes mold spores between 24 to 72 hours to begin reproducing in a favorable environment. Mold spores are everywhere around us in the air. In small levels they pose no threat to humans. However when breathed in in large numbers they can cause serious health concerns.
Mold spores need basically three things to begin reproducing 1) contact with water, 2) a surface upon which to breed, and 3) warmth. It is thought that mold does not grow on the gypsum in drywall, however drywall paper provides a good surface and food source to allow mold to quickly multiply to numbers that are dangerous to humans. Mold can also grow on cardboard or wood so it is important to dry out everything completely.
All water soaked building materials, drywall, insulation etc, should be removed as soon as possible. These materials cannot be reused even once they have been dried. Fans should be placed throughout the affected area to increase air flow and dry out any wooden studs or structural elements of the home. Moisture meters can be used to determine the level of residual moisture in any material you are attempting to dry. The goal is to completely dry everything including wooden studs and sub-floor within 48 hours in order to prevent black mold growth.
How much drywall to remove?
After water soaked furniture and building materials have been removed from the area. Carpet and padding should be removed or at least pulled back to allow the sub-floor to breath. All water soaked drywall should be removed if it has become soft or flexible. If less than a few inches of water entered the home, it may be possible to leave the upper portions of drywall on the walls.
However, water wicks upwards, therefore if the water level came up only 1 or 2 inches on the walls, the damage probably extends 2 to 3 feet. Even if the drywall seems dry only a few inches up from the level of water, the insulation in the walls may be soaked much further up. In most instances, it is recommended to remove at least the lower 2 to 4 feet of wall area in order to completely expose the surfaces behind. This will allow proper air flow to ensure thorough drying.
How to remove water soaked drywall
The tendency may be to simply take a sledge hammer and start swinging away. But a little planning during demolition makes reinstallation go more smoothly.
Step 1: Mark a straight line
Measure up from the floor to a decided upon height. Make a mark at this height at various areas along the affected walls. Using a chalk line, connect the marks on the wall to create a straight line at the decided upon height.
Step 2: Cut along the chalk line with a utility knife
Using a utility knife, score through the surface of the drywall all along this chalk line, cutting one half or three quarters of the way through the thickness of the drywall.
Step 3: Carefully loosen and remove the damaged drywall
Using a hammer, carefully knock a small hole in the drywall below this line. Using the hole in the drywall as a handle, gently pull the drywall back and forth to loosen it from the studs behind.
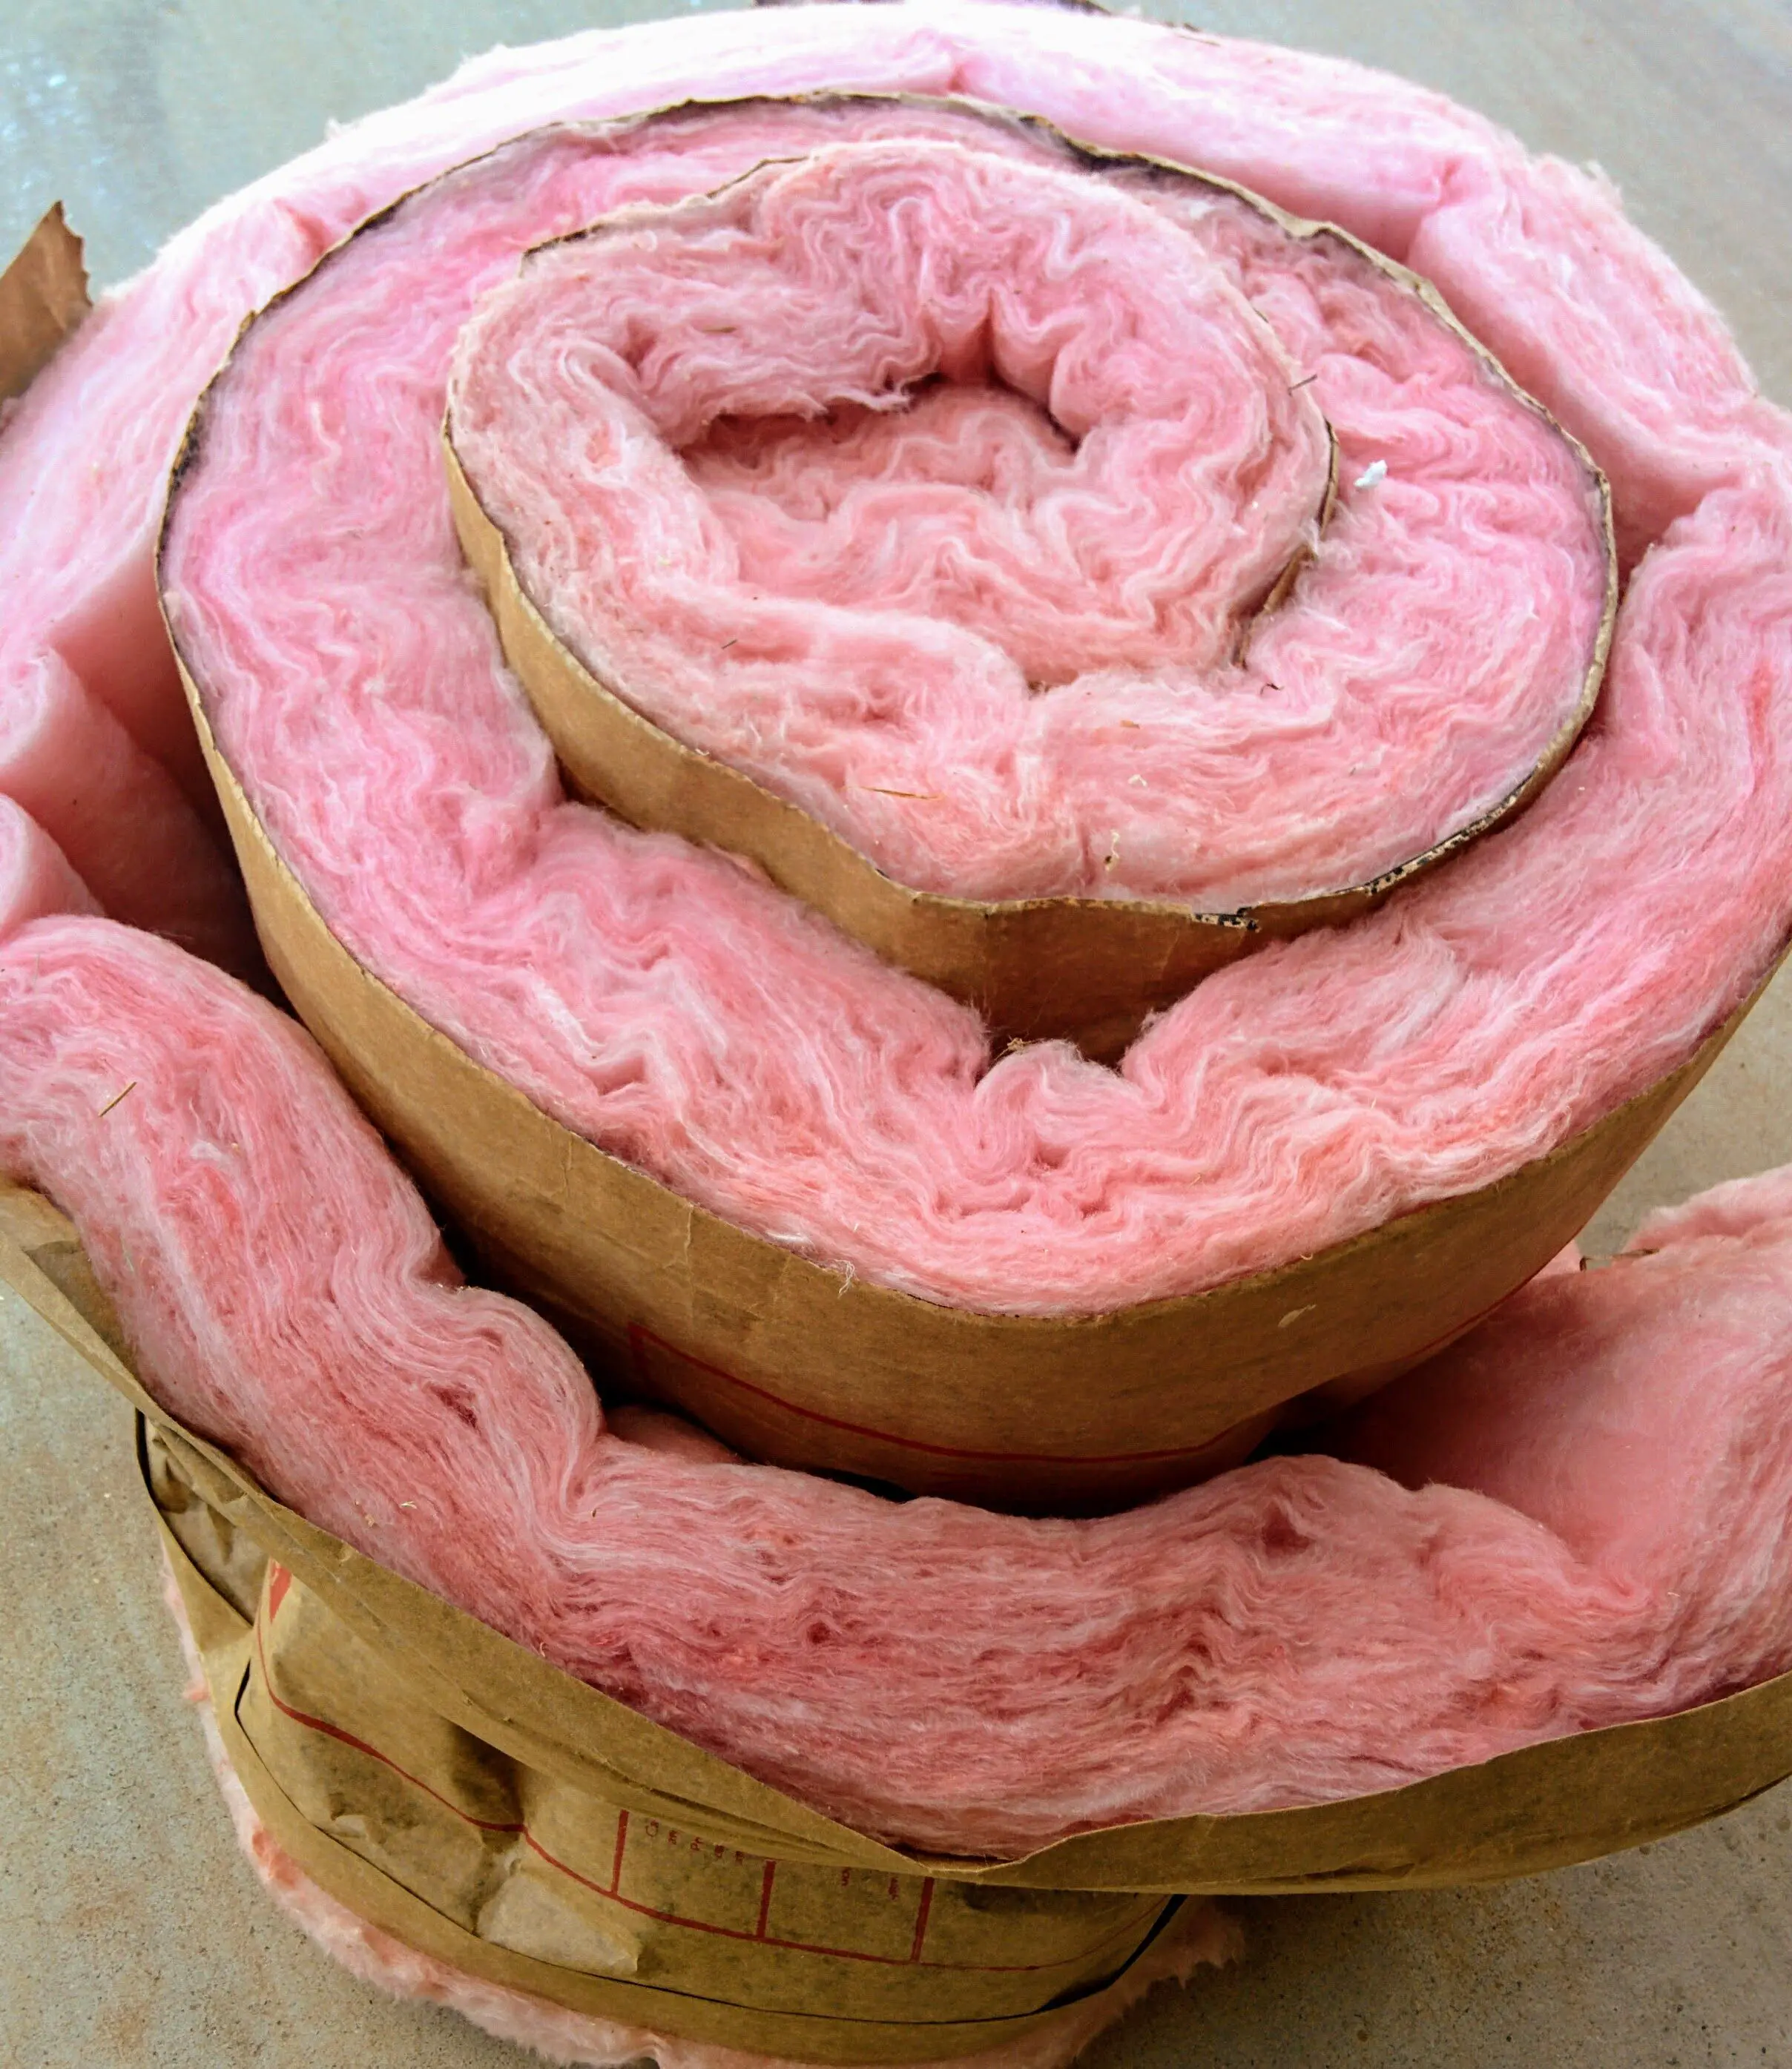
Step 4: Remove any wet insulation
Once all drywall is removed, completely remove any damp insulation. It is easy to be fooled by the moisture content of insulation. It may seem only slightly damp when in actuality it should be removed. If in doubt, remove all the insulation in the walls. It is one of the least expensive things to replace and it is worth removing it now to avoid the potential of leaving some moisture behind the walls.
Step 5: Place fans for 48-72 hours
Once all the damaged material has been removed, place fans strategically to increase air flow behind the walls. Leave the fans running for at least a few days so the studs and flooring can completely dry. It is better to leave the fans running longer than necessary than to take them away too soon.
Conclusion
Always remember, when doing any type of demolition work, including that described above, it is important to wear proper personal protective equipment, which include gloves, safety glasses, hard soled footwear and hard hats. Remember to turn off all electrical circuits in the area that you will be removing drywall. It is good to consult with an electrician in any cases of flood damage since water and electricity can cause potentially serious dangers.
Whether water damage is caused by a leaking pipe or a hurricane storm surge, it is not easy to deal with. If addressed quickly and thoroughly, your home can and will be restored to it's former state. With diligence and a little planning, flood damage does not have to control your life.