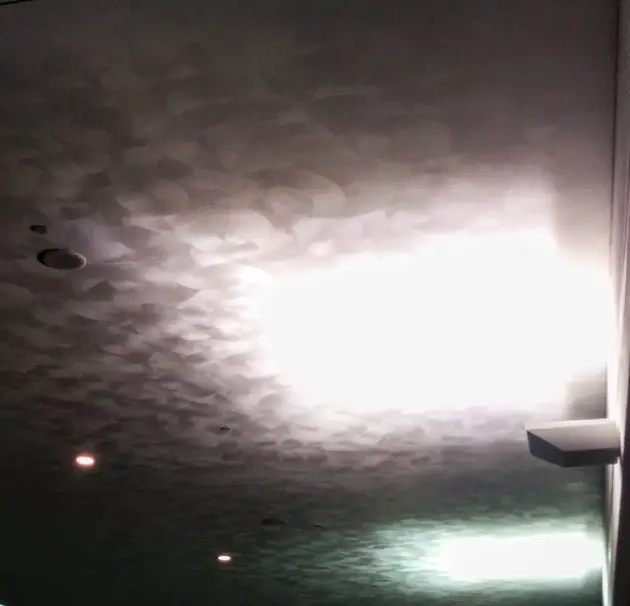
Swirl Drywall Texture
Swirl drywall textures have been around in the midwest and eastern United States for decades. This texture is used most often on ceilings but occasionally is seen on the walls of apartment buildings.
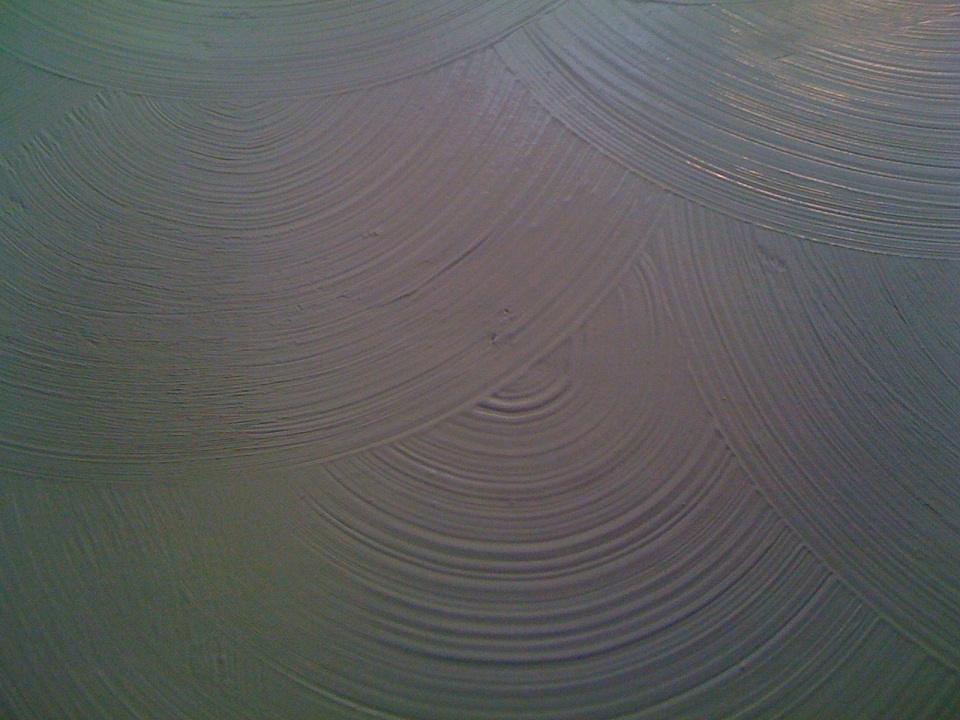
A Swirl Texture, as its name implies, leaves a swirled pattern of half circles across the ceiling. Generally, the pattern continues uniformly across the ceiling creating a collection of circles that overlay one another. The pattern of overlapping circles terminates at the wall on the other side of the room.
Sometimes silica sand is added to texture mud before it is applied. The basic pattern of texture is similar but the sand creates a rough texture in the swirled drywall mud that gives a more dramatic feel to the finished pattern.
How to do a Swirl Drywall Texture
Step 1 - Prepare the surface well
To produce a swirl texture the drywall surface must be prepared well. Light sanding is needed to remove any large imperfections. Swirl texture will not cover many imperfections so all pockmarks, humped seams, and tool marks need to be removed before applying swirl texture
Step 2 - Mix the Mud
The drywall mud needed for swirl texture must be thinned considerably. The consistency of this mud is thinner than any other mud used in the drywall taping and finishing process.
Step 3 - Apply a thin layer of drywall mud evenly
Generally a tradesman will roll the mud onto the ceiling with a paint roller using a heavy nap roller cover. For larger jobs, a heavy-duty airless paint sprayer is used to spray the mud onto the surface of the drywall.
Step 4 - Plan the pattern before you begin
Care must be given to overlapping the circles in such a pattern that no bare spots remain. It is helpful to first lay out the direction and distance of swirls desired before starting. This ensures an even pattern and distribution of swirls across the ceiling.
Step 5 - Create the swirl pattern
Once the mud has been applied in a thin layer on the drywall, the swirl pattern is created with a medium bristle brush. A wallpaper brush works well. Some tradesmen have used the bristles from an old ice scraper. The length of the brush will determine the diameter of the circles created.
Step 6 - Allow to dry and then paint
Once the pattern has been created, there is nothing more to do but wait for it to dry. Once dry, you can apply a good quality primer and flat white paint or whatever color you prefer. The large picture above shows a swirl texture with semigloss paint. The extra sheen helps to bring out the pattern. However, a semi-gloss or gloss paint on the ceiling usually detracts too much from the design intended for the rest of the room. Flat paints usually work best on ceilings.
Random Swirl pattern on a high ceiling:
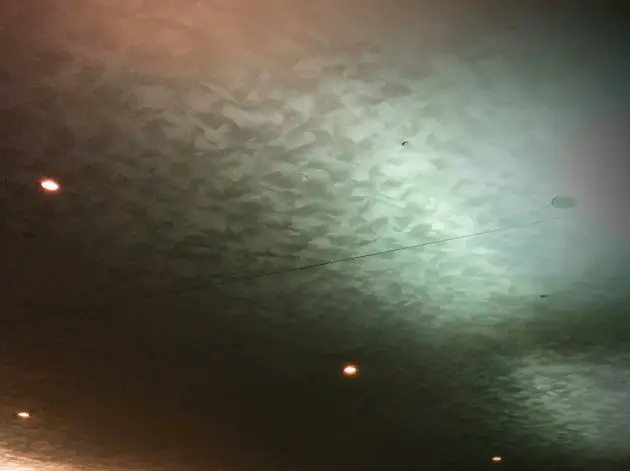
See how the swirl pattern creates the look of water on the ceiling: